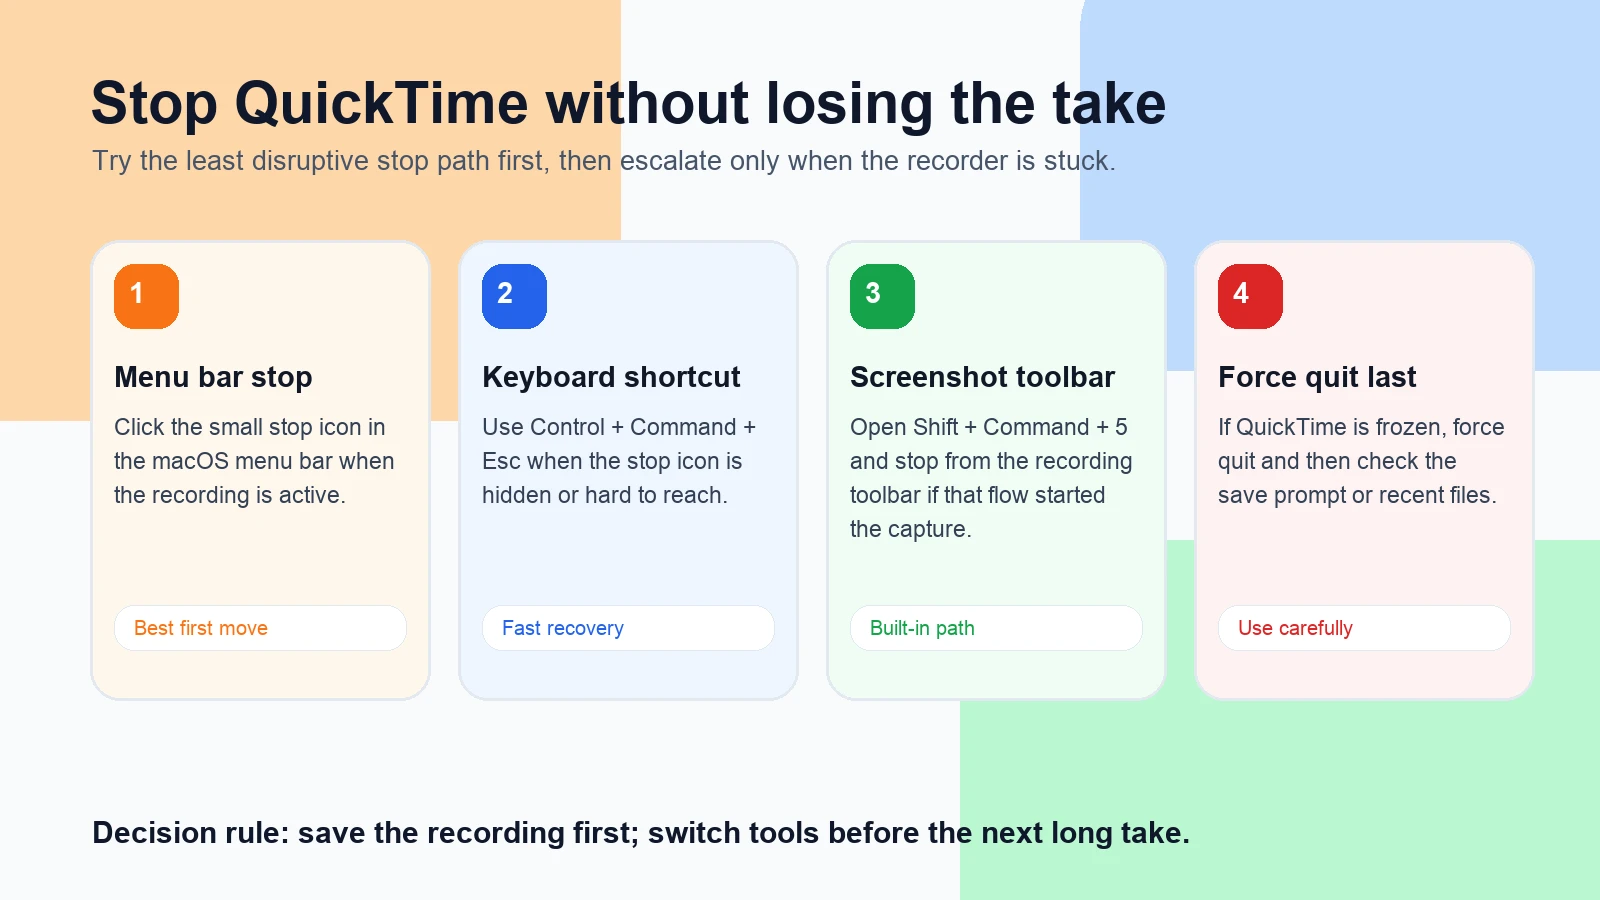
If you need to stop a QuickTime screen recording, first look for the Stop button in the macOS menu bar. If you started the recording through the Screenshot toolbar, you can also press Command-Control-Esc. If QuickTime is frozen, force quit only after checking whether the recording has already opened, saved, or prompted you to save.
The safest order is simple: stop normally, confirm the file exists, play it locally, then decide whether QuickTime is still the right tool for your next long recording.
Quick Answer
Use the least disruptive stop method that still works.
| Situation | Stop method | What to check next |
|---|---|---|
| The menu bar is visible | Click the Stop button in the menu bar | Wait for the recording to open or save |
| You used the Screenshot toolbar | Press Command-Control-Esc or stop from the toolbar flow | Check Desktop or the selected save location |
| QuickTime opens the finished movie | Play the first and last 10 seconds | Save or duplicate the file before trimming |
| QuickTime is not responding | Use Option-Command-Esc to force quit QuickTime | Look for a save prompt, temporary file, or recent item |
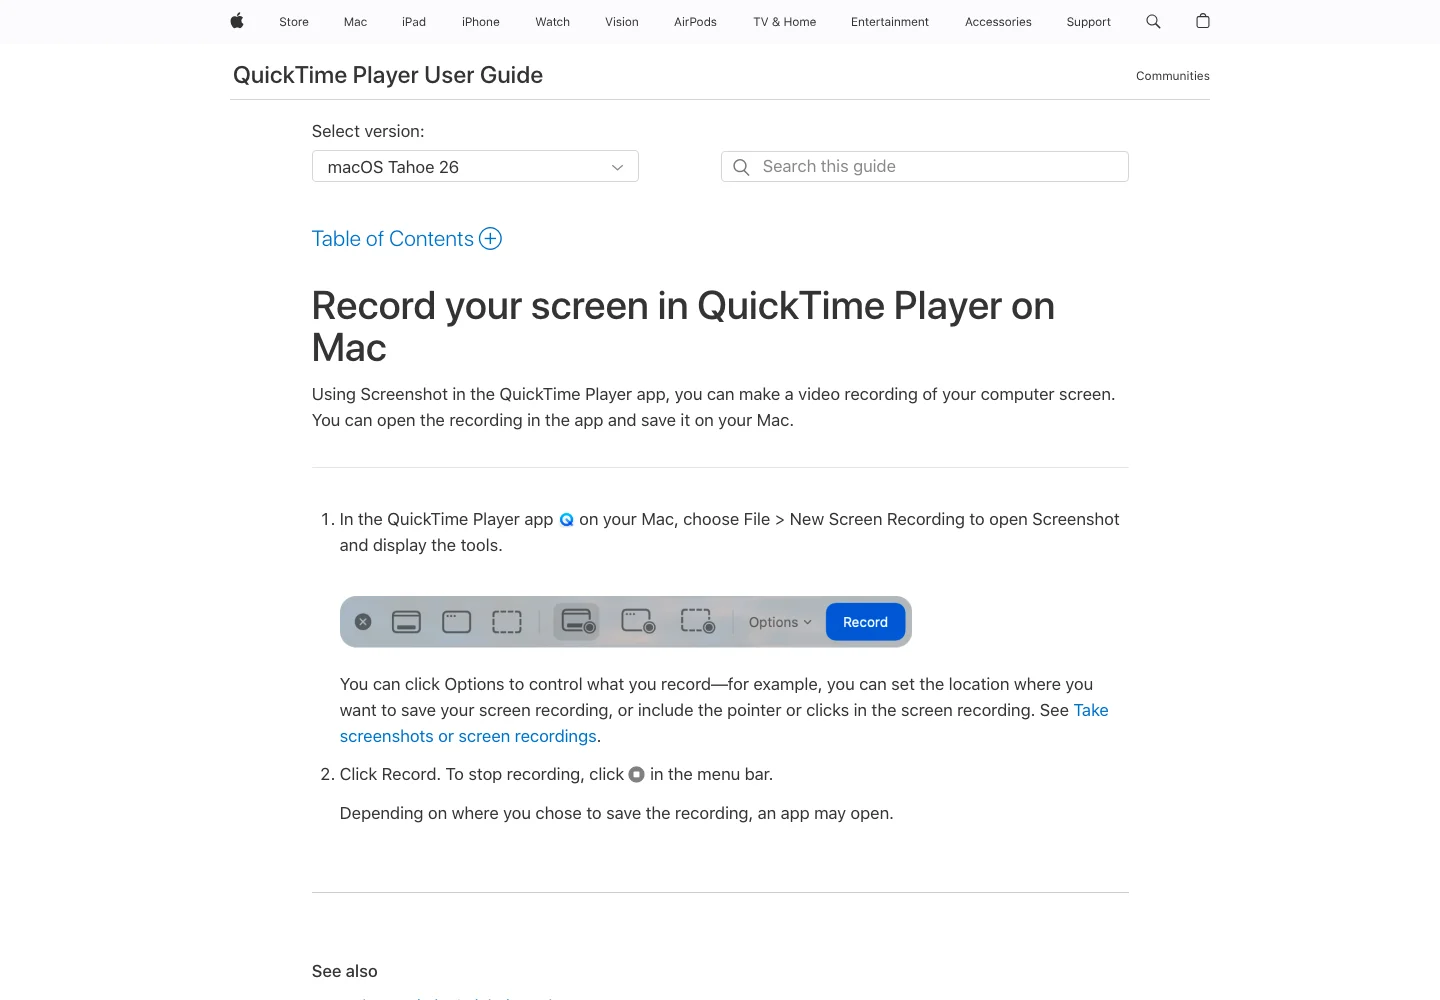
Apple's Mac screen recording guide documents the built-in Screenshot and QuickTime routes, including the menu-bar Stop button and Command-Control-Esc shortcut. Apple's QuickTime Player screen recording guide also points to the Stop Recording button in the menu bar after a QuickTime screen recording starts.
Method One Stop from the Menu Bar
When a QuickTime screen recording is active, the normal stop control is the small recording stop button in the macOS menu bar. This is the safest first move because it lets macOS finish the recording flow and then open or save the movie.
Use it when:
- The menu bar is still responsive.
- The recording is running, but QuickTime itself is not frozen.
- You can see the stop control near the top of the screen.
- You do not need to interrupt the process immediately.
After clicking Stop, wait for QuickTime or the recording thumbnail to appear. Then play the file before closing anything. A finished recording is not useful until you have verified that the last part of the clip was actually saved.
Method Two Use the Mac Recording Shortcut
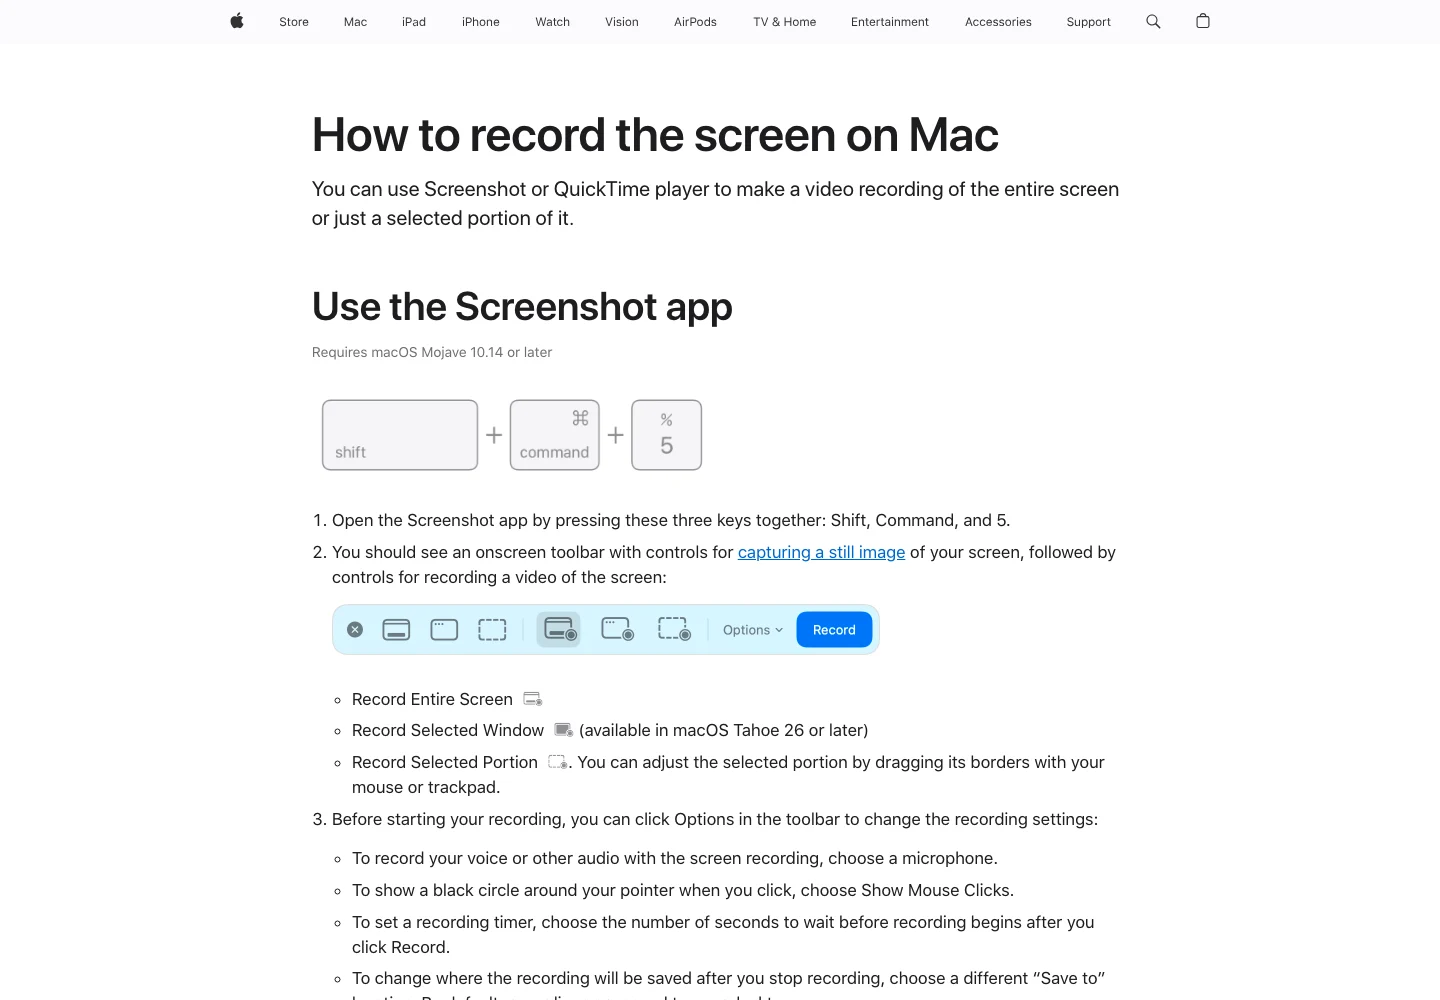
If the menu-bar icon is hard to reach or hidden behind a full-screen app, use the built-in Mac stop shortcut. Apple's current Mac screen recording support page lists Command-Control-Esc as a stop shortcut for screen recordings started through the built-in flow.
Use this when:
- You started from
Shift-Command-5or QuickTime's screen recording flow. - The app you are recording is full-screen.
- The stop icon is not obvious.
- You want to stop without moving the cursor across the recording.
This shortcut is different from force quit. Command-Control-Esc is a recording stop path. Option-Command-Esc opens Force Quit for unresponsive apps.
Method Three Recover a Stuck Recording
If QuickTime is frozen, do not immediately restart the Mac. First check whether the recording has already finished, opened behind another window, or saved to the location chosen in Options.
Use this recovery checklist:
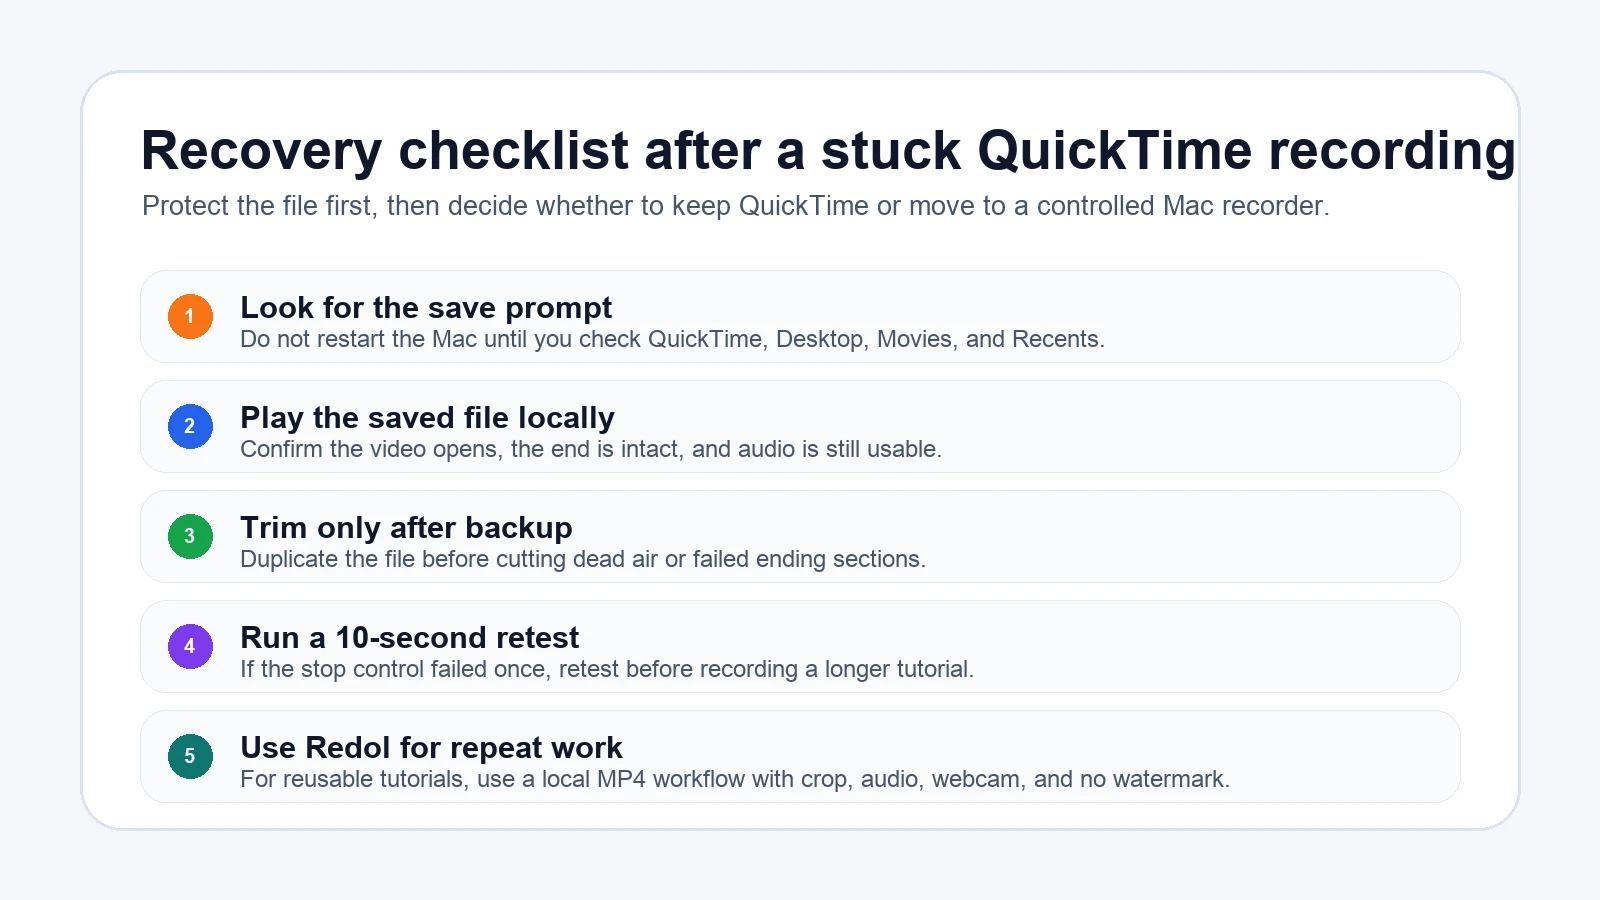
- Look for a QuickTime movie window behind other apps.
- Check Desktop, Movies, Downloads, and the save location you selected before recording.
- Open Finder Recents and sort by date.
- If QuickTime asks whether to save, save before trimming or closing.
- Duplicate the recovered file before editing it.
If QuickTime is not responding and the normal stop path fails, Apple's Force Quit guide for Mac explains how to open Force Quit with Option-Command-Esc. Use that as the last resort, then check the save locations again.
Why QuickTime Gets Awkward at the End of a Recording
QuickTime is useful because it is already on the Mac and good enough for many short clips. The awkward part is the handoff at the end: the recording may open in QuickTime, save to a selected location, show a thumbnail, or appear to pause while macOS finishes writing the file.
That uncertainty becomes stressful when the take was long, the Mac is under load, or the recording captured a meeting, demo, or support walkthrough that is hard to repeat.
Before the next important recording, run a 10-second test:
- Start the same kind of screen recording.
- Move the cursor and say one sentence if audio matters.
- Stop with the exact stop method you plan to use.
- Confirm where the file saved.
- Play the file locally and check the final seconds.
If the stop path is confusing during a test, fix the workflow before recording the real take.
When Redol Is the Better Next Recording Workflow
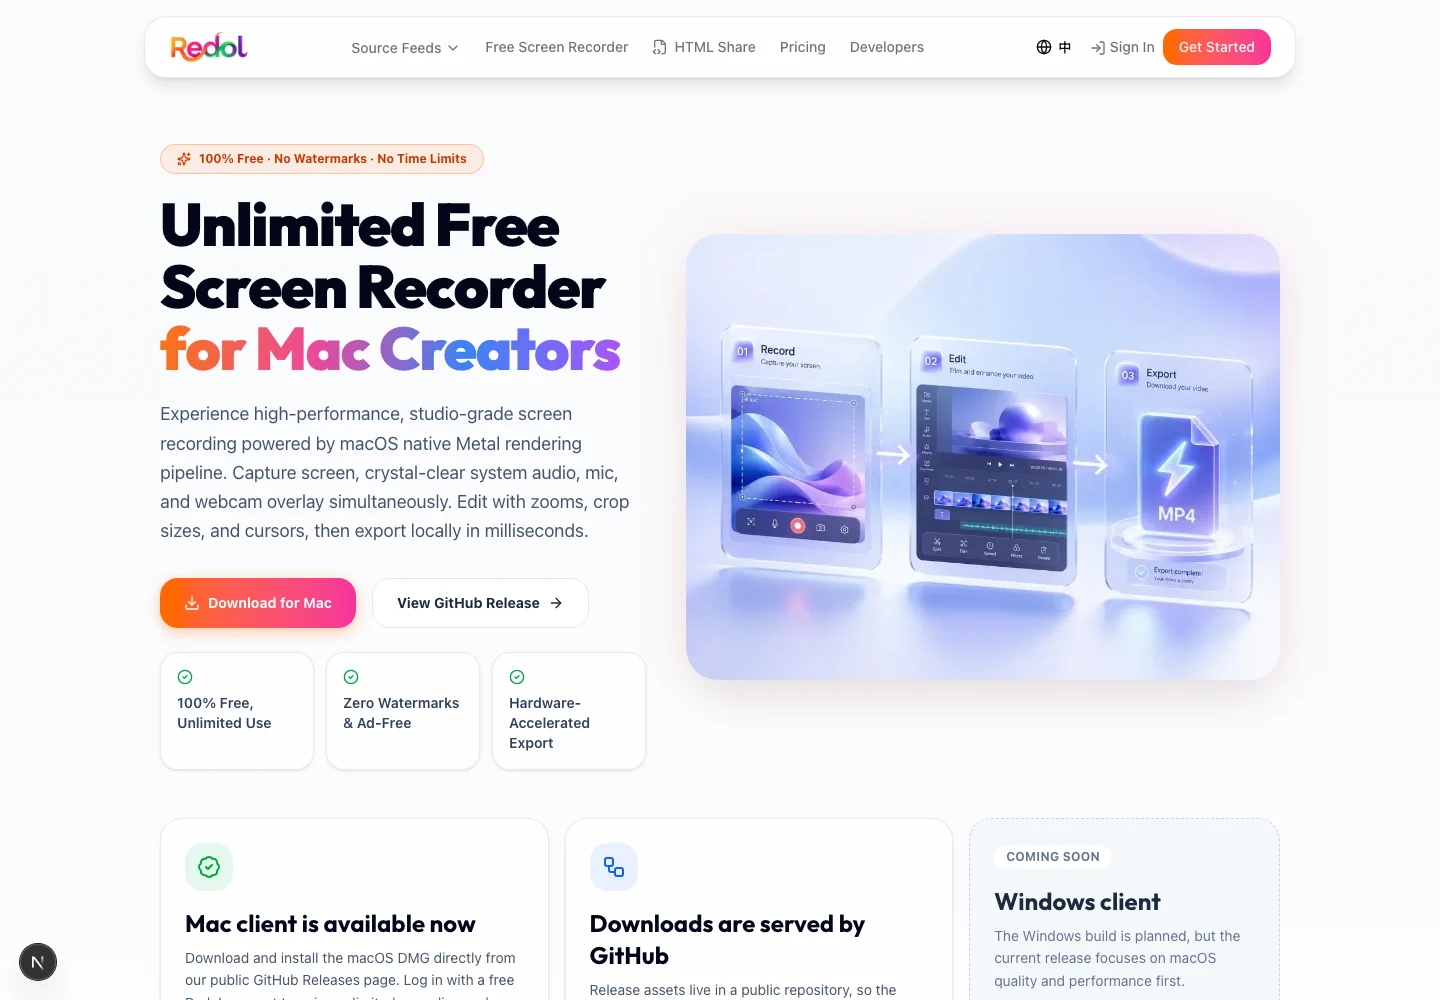
Redol Screen Recorder is the better fit when the recording is not just a quick capture, but a reusable asset: a product walkthrough, software tutorial, support video, course clip, async update, or creator workflow.
The current Redol product page and source position it as a free macOS screen recorder with no watermarks, no recording time limits, system audio, microphone narration, webcam overlay, crop and resize controls, zooms, cursor emphasis, and local MP4 export. The current public page focuses on macOS, with Windows planned rather than live.
Use Redol when the end of the recording matters as much as the start:
- Choose a fixed capture area before recording.
- Capture system audio and microphone narration in one local workflow.
- Use webcam overlay only when it helps the viewer follow the lesson.
- Keep cursor movement, crop, and zoom decisions inside the recording workflow.
- Export a local MP4 and review it before sharing.
This does not mean QuickTime is bad. QuickTime is still the fastest built-in path for short, simple clips. Redol is for the recording jobs where you cannot afford a confusing stop flow, silent audio, unclear cursor movement, or a file that needs to be redone.
Record your next Mac tutorial locally
Use Redol Screen Recorder when you need a no-watermark Mac recording with system audio, mic narration, crop controls, webcam overlay, and local MP4 export.
Common Mistakes to Avoid
| Mistake | Why it causes trouble | Better habit |
|---|---|---|
| Closing QuickTime before the movie appears | The recording may not be saved yet | Wait for the movie window, thumbnail, or save prompt |
| Force quitting as the first move | It can interrupt the normal save flow | Try menu bar Stop or Command-Control-Esc first |
| Recording long takes without a stop test | You discover the save path only after the real take | Run a 10-second start-stop test |
| Saving only one copy before trimming | A bad edit can damage the only useful file | Duplicate the recording before edits |
| Using QuickTime for every creator workflow | Built-in capture is simple, but not always controlled | Use a dedicated Mac recorder for repeatable tutorials |
If your broader problem is performance rather than stopping, use the Redol guide to fix QuickTime screen recording lag. If the main issue is sound, use the guide to screen record on Mac with audio.
Final Recommendation
To stop a normal QuickTime screen recording, use the menu-bar Stop button or Command-Control-Esc. If QuickTime is frozen, check for a save prompt and recent files before using Force Quit.
For short clips, the built-in Mac workflow is enough. For longer tutorials, support videos, product demos, and repeatable creator recordings, use a local Mac recorder workflow that makes the ending predictable before you spend time on the full take.
Related posts
About the Author
Zhang Guo
AI Product Manager · Digital Marketing Consultant
AI product manager and digital marketing consultant with a background in music. I see creativity as the bridge between rhythm and logic, where musical intuition and mathematical precision can coexist in every meaningful product decision.
Follow on X