If you searched for how to screen record on Mac with audio, the first decision is what kind of audio you need. A quick microphone-only clip can usually start with Apple's built-in Screenshot or QuickTime workflow. A product demo, tutorial, support walkthrough, or course clip often needs system audio, microphone narration, webcam overlay, and a clean local export.
The practical rule is simple: test a 10-second clip before recording the real video. If the test export has the right screen area, system sound, microphone level, and file format, you are ready. If it is silent, out of sync, or missing system sound, fix the audio path before you record anything long.
The Fastest Way to Choose a Mac Audio Workflow
Use the lightest workflow that captures the audio source you actually need.
| Recording job | Built-in Mac tool fit | Redol fit | Check before recording |
|---|---|---|---|
| One fast screen clip with voiceover | Good for simple microphone narration | Useful when you also want crop, webcam, or export control | Confirm the selected microphone is active |
| Product demo with app sound | Built-in tools may need extra audio routing | Strong fit for Mac system audio plus mic capture | Record 10 seconds and play it back with headphones |
| Tutorial with facecam | Limited as a complete creator workflow | Strong fit for webcam overlay and local MP4 export | Check camera position and screen crop |
| Private support walkthrough | Useful for a quick explanation | Strong fit when local-only recording matters | Hide notifications and private tabs |
| Long course or async team update | Possible, but basic | Better when you need repeatable settings and no watermark | Confirm no time limit, audio level, and final export |
Method One Use Screenshot or QuickTime for Simple Voice Clips
Apple documents the built-in Mac screen recording flow through Screenshot and QuickTime Player in its official Mac screen recording guide. That workflow is useful when you need a fast clip, a selected screen area, or microphone narration without installing another recorder.
For a simple built-in workflow:
- Open Screenshot with
Shift + Command + 5, or open QuickTime Player and start a new screen recording. - Choose the whole screen, a window, or a selected portion.
- Open the recording options and select the microphone you want to use.
- Turn on pointer clicks if you are explaining a UI flow.
- Record 10 seconds, stop, and play the file back before recording the final version.
This method is enough for quick bug reports, internal notes, and short voice explanations. The limit is creator control. If you need system audio from an app, webcam overlay, crop/resize controls, zoom emphasis, cursor highlighting, or a no-watermark local MP4 workflow, use a dedicated Mac recorder instead.
Method Two Record System Audio and Mic in Redol
Redol Screen Recorder is built for Mac creators who need a local recording workflow rather than a lightweight one-off clip. The current product page positions it as a free macOS screen recorder with no watermarks, no recording time limits, system audio, microphone narration, webcam overlay, crop/resize controls, zooms, cursor highlight and click actions, and local MP4 export.
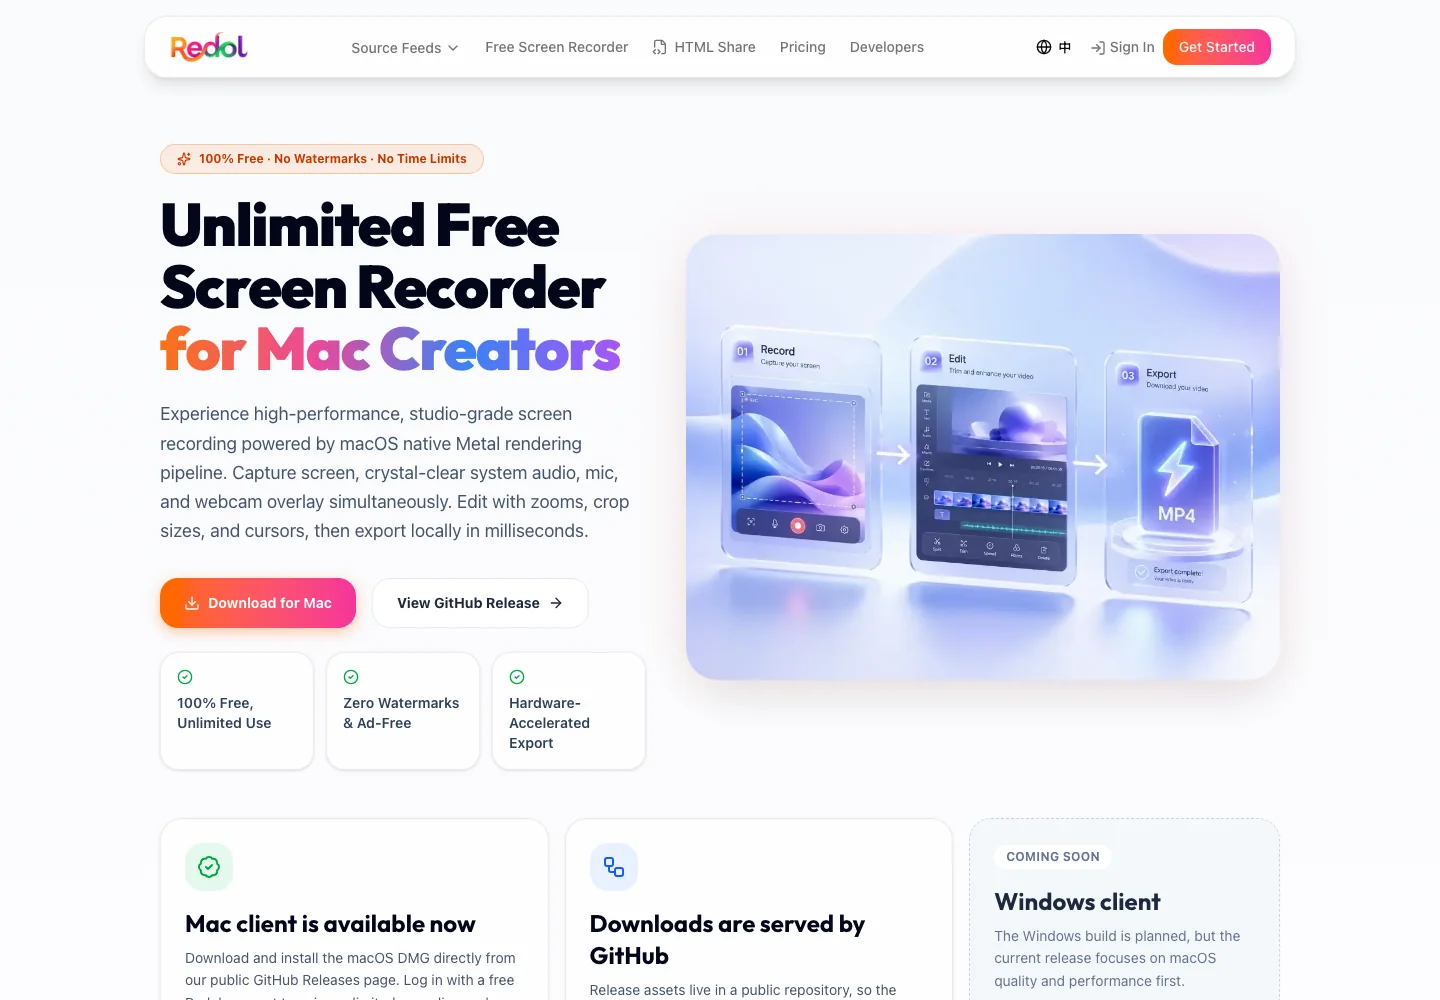
Use Redol when the screen recording has to become a real asset: a product walkthrough, customer-support answer, course module, async update, or software tutorial. Those videos usually need clean app sound, understandable narration, a stable capture area, and a private local export more than they need live-streaming complexity.
The honest platform note is that Redol is a Mac recorder today. The current product source and public page present Windows as planned, not live. If you need Windows recording right now, use a Windows recorder instead of stretching a Mac-first workflow.
Record a Mac screen video with clean audio
Use Redol Screen Recorder for local Mac captures with system audio, microphone narration, webcam overlay, crop controls, and no-watermark MP4 export.
Mac Audio Preflight Checklist
Audio failures usually come from skipping a test export. A recorder can show moving levels while still producing the wrong file if the selected source, permissions, or output settings are off.
Run this checklist before every important recording:
- Record a 10-second test clip.
- Say one sentence into the microphone.
- Play a short app sound if system audio matters.
- Stop, export, and listen with headphones.
- Check that your voice is not too quiet beside app audio.
- Hide notifications, private browser tabs, downloads, and customer data.
- Confirm the capture area does not expose extra monitors or private windows.
- Save the test clip where you can find the final export.
If the test file is silent, do not keep recording. Change the selected microphone, system audio setting, permissions, or recorder before trying again.
A Better Workflow for Tutorials and Support Videos
The best Mac screen recording workflow is not just pressing Record. It is a small production loop: decide what the viewer needs to see, test the audio, capture only the useful area, and export a file that can be shared without cleanup.
For tutorials, demos, and support videos, use this sequence:
- Write the one-sentence outcome. For example, "Show how to export the report as HTML" or "Explain why the login button is disabled."
- Choose the audio mix. Use microphone-only for explanation, system audio for app sound, or both when the app sound matters to the lesson.
- Clean the screen. Close private tabs, hide bookmarks, pause notifications, and use a fixed capture area.
- Record a rehearsal clip. Ten seconds is enough to catch silent audio, wrong monitors, and bad crop choices.
- Record the final take. Keep the cursor movement slow and describe the action before clicking.
- Export locally. Watch the first 20 seconds and one middle section before sharing the video.
This workflow is especially useful for creators and content teams because it keeps the recording reusable. A clean local MP4 can become a help article asset, a product demo, a course clip, or a short internal update.
Common Mac Screen Recording Audio Problems
If your Mac screen recording has no audio, start with the source instead of rerecording blindly.
| Problem | Likely cause | Fast check |
|---|---|---|
| Microphone narration is missing | The wrong input was selected or microphone permission is blocked | Open the recorder options and record one spoken sentence |
| App sound is missing | The recorder is capturing microphone only, not system audio | Play app audio during a 10-second test and listen back |
| Voice is too quiet | Input level or distance is wrong | Move closer, pick the correct microphone, and retest |
| App sound overpowers narration | System audio is louder than microphone audio | Lower app volume before recording the real clip |
| Private information appears | Capture area or notifications were not cleaned | Crop to a fixed area and turn on Focus before recording |
| Export is hard to share | The file format or save location was not checked | Export a test file and confirm the final destination |
If you only need a quick voice clip, the built-in Mac workflow may be enough. If the recording needs system sound, narration, webcam overlay, local export, and no watermark, a dedicated Mac recorder such as Redol is usually the cleaner path.
Final Recommendation
For a quick Mac screen recording with microphone narration, start with Screenshot or QuickTime and verify the exported file. For a more polished Mac recording with system audio, microphone narration, webcam overlay, local MP4 export, and no watermark, start with Redol Screen Recorder.
The deciding step is always the same: record 10 seconds, listen back, and fix the audio before recording the real video. That one habit prevents silent tutorials, unusable support clips, and long recordings that need to be redone.
Related posts
About the Author
Zhang Guo
AI Product Manager · Digital Marketing Consultant
AI product manager and digital marketing consultant with a background in music. I see creativity as the bridge between rhythm and logic, where musical intuition and mathematical precision can coexist in every meaningful product decision.
Follow on X