To screen record on an HP laptop, choose the Windows tool that matches the part of the screen you need to capture. On a current Windows 11 HP laptop, press Windows + Shift + R to start a Snipping Tool video selection. For one app or a game on Windows 10 or 11, press Windows + Alt + R to use Xbox Game Bar. If you already have PowerPoint and need a selected area with audio and the pointer, use Insert > Screen Recording.
The HP model name does not create a separate recording system. An HP Pavilion, Envy, Spectre, Victus, or EliteBook uses the recording options available in its version of Windows and installed apps.
Choose the Right HP Laptop Recording Method
| What you need to record | Best first choice | Works best when | Main limitation |
|---|---|---|---|
| A selected area on Windows 11 | Snipping Tool video snip | You want a quick rectangular clip without installing another recorder | It is not the best choice for every audio-heavy workflow |
| One app or game with system audio | Xbox Game Bar | You need a fast MP4 from an active app on Windows 10 or 11 | It is app-focused rather than a flexible full-desktop recorder |
| A selected area with pointer and audio | PowerPoint Screen Recording | PowerPoint is already installed and you want to save the clip as a separate file | The recording is inserted into a slide before export |
| A longer tutorial with editing needs | A dedicated Windows recorder | You need webcam, multiple sources, annotations, or a more controlled production workflow | Requires careful tool research and installation |
Start with a ten-second test. Confirm the capture area, system sound, microphone, notifications, and saved file before recording a full lesson, meeting, or tutorial.
Method 1 Use Snipping Tool on Windows 11
Snipping Tool is the simplest current option when you need to record a rectangular part of the screen on an HP laptop running Windows 11.
- Arrange the app or page you want to capture.
- Press Windows + Shift + R.
- Drag over the area you want to record.
- Select Start.
- Complete the task, then select Stop.
- Save the clip, or open it in Clipchamp when you need captions, audio work, or additional editing.
Microsoft's current Snipping Tool documentation lists a video snip for a rectangular selection and documents the Windows + Shift + R shortcut. The same page explains that the finished clip can be saved or opened in Clipchamp.
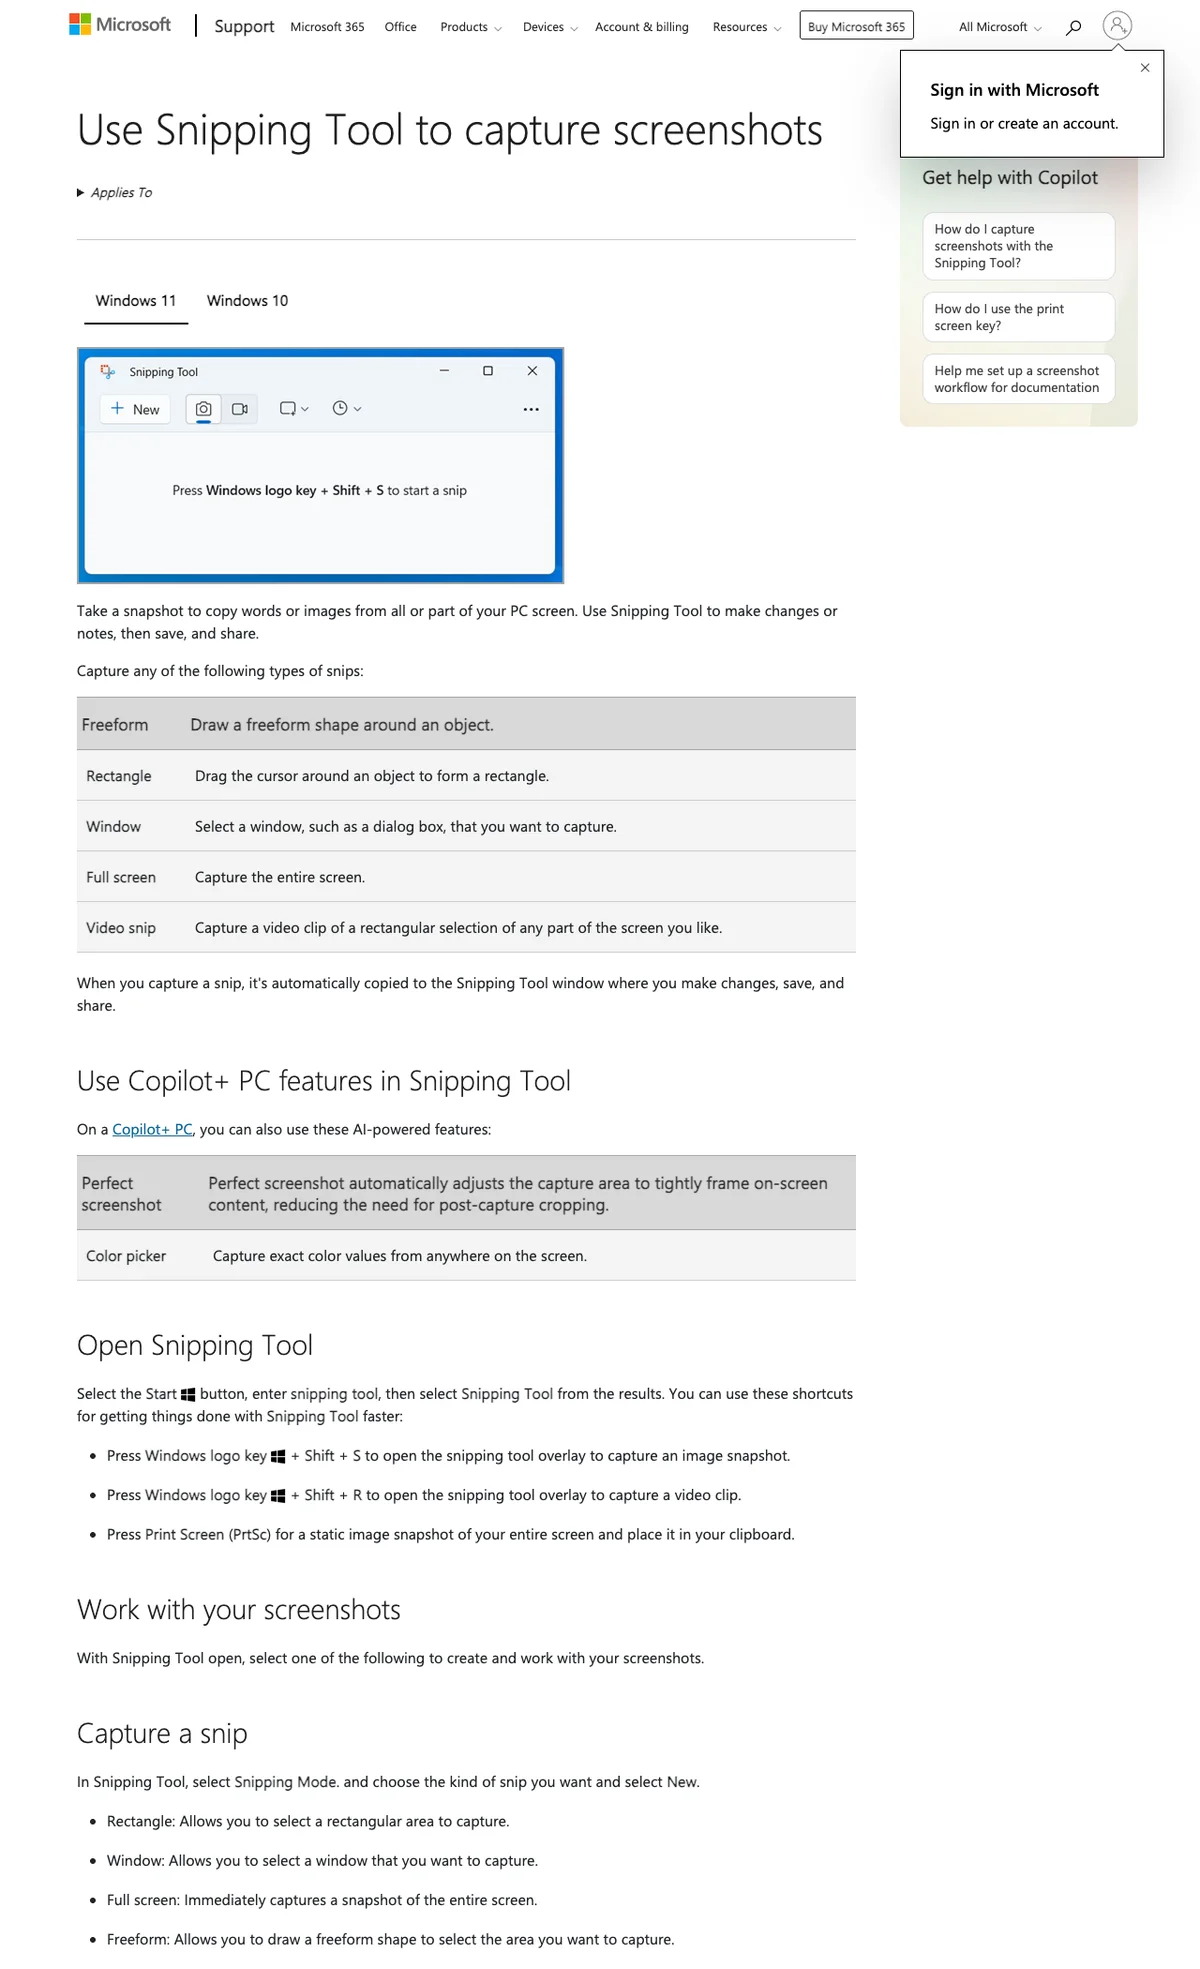
Use this method for a short walkthrough, a browser issue, a form demonstration, or a selected portion of an app. If the clip needs dependable system audio and microphone narration together, test that exact combination before committing to a long recording.
Method 2 Record an App with Xbox Game Bar
Xbox Game Bar is the fastest built-in route for recording an app or game with audio on Windows 10 or Windows 11.
- Open the app or game you want to capture.
- Press Windows + G if you need to review Game Bar controls and capture settings.
- In Game Bar settings, check the capture audio option before recording.
- Press Windows + Alt + R to start.
- Press Windows + Alt + M when you need to toggle the microphone.
- Press Windows + Alt + R again to stop.
- Find the MP4 in Videos > Captures.
Microsoft's official Xbox Game Bar recording guide documents these shortcuts, the system-audio setting, and the Captures folder for both Windows 11 and Windows 10.
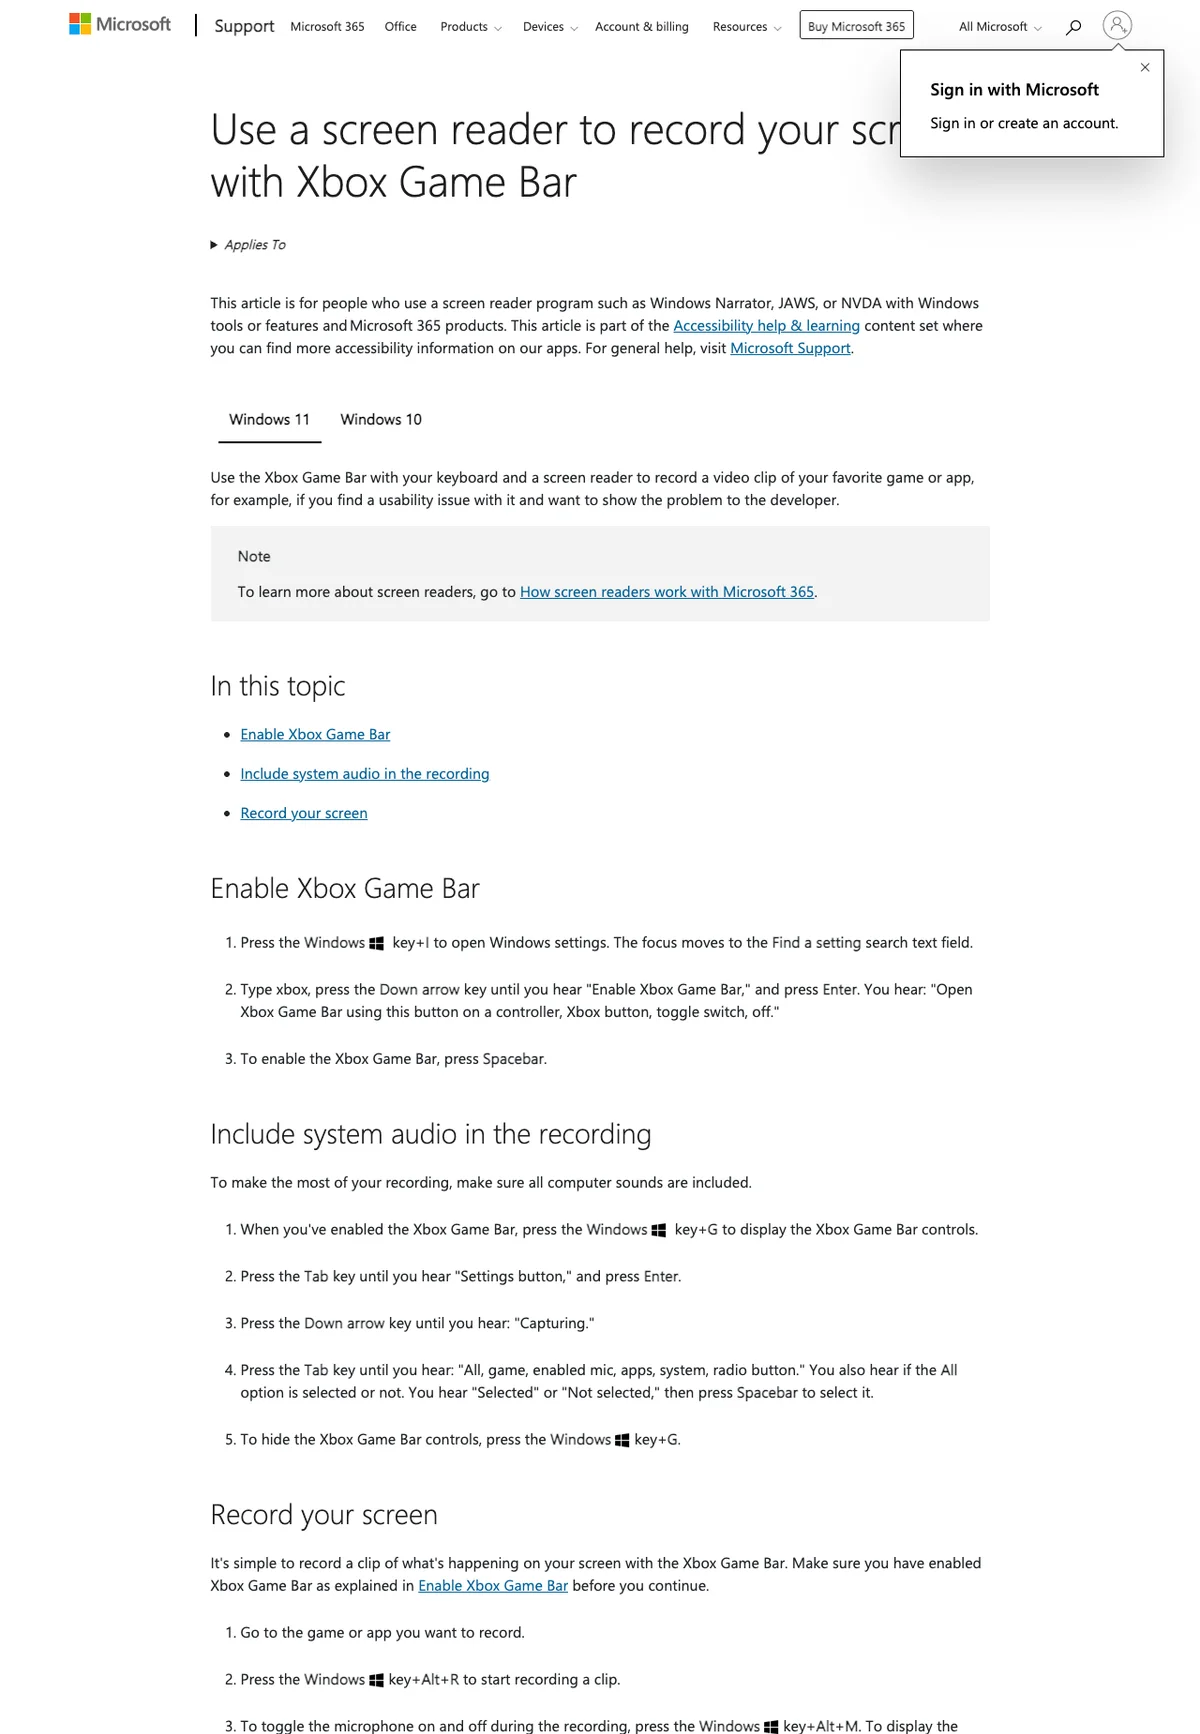
Game Bar is designed around a game or app. If the shortcut does nothing, click inside the app you want to record and try again. It is not the right method when you need a flexible selected area across several windows.
Need Windows 10 audio-specific steps?
Use the Redol Windows 10 guide to compare Xbox Game Bar, Clipchamp, and PowerPoint, including audio limits and current support context.
Method 3 Record a Selected Area in PowerPoint
PowerPoint is useful when it is already installed and you need to capture a selected area with audio and the mouse pointer.
- Open PowerPoint and select the slide that will hold the recording.
- Choose Insert > Screen Recording.
- Select the area to capture.
- Keep Audio and Record Pointer enabled if you need them.
- Select Record, then pause or stop when finished.
- Right-click the video frame and choose Save Media as to export the clip separately.
Microsoft's PowerPoint screen recording instructions say that the tool can capture related audio, records the pointer and audio by default, and can save the result as a separate media file.
PowerPoint is a practical fallback for a class demonstration, slide-based lesson, or selected-area tutorial. It is less direct than Snipping Tool because the clip first becomes an object inside a presentation.
How to Screen Record with Audio
Audio failures usually come from selecting the wrong source, muting the microphone, or skipping a short test.
- For app and system sound: open Xbox Game Bar with Windows + G, then review Settings > Capturing before starting.
- For narration: confirm that Windows microphone permissions allow the recording app, select the correct microphone, and watch its input level.
- For PowerPoint: keep Audio selected in the recording control dock.
- For headphones or a dock: verify the active output and input device after connecting or disconnecting accessories.
- For meetings: follow the platform rules, organization policy, and participant consent requirements before recording.
Record ten seconds while speaking and playing the sound you need. Stop, open the MP4, and listen through the same speakers or headphones you will use for review. That small check catches more problems than changing several settings after a silent full-length recording.
Fix Common HP Laptop Screen Recording Problems
Windows + Shift + R does not open video capture
Confirm that the HP laptop is running a current Windows 11 build and that Snipping Tool is updated. If the video option is missing, use Xbox Game Bar for one app or PowerPoint for a selected area while you update the built-in app.
Windows + Alt + R says recording is unavailable
Bring the target app or game to the foreground. Game Bar is app-focused and may not record the desktop, File Explorer, or every protected surface. Use Snipping Tool when a rectangular area is enough.
The recording has no system audio
Open Game Bar with Windows + G, review the capture audio setting, and make another short test. Do not assume the microphone toggle also controls app or system sound; they are separate sources.
The microphone is silent
Check the microphone privacy permission, the selected input device, and the physical mute key or headset switch. HP laptops may include a microphone-mute function key, but the exact key varies by model.
The video is black
Try recording an ordinary app first. Protected video services, hardware-accelerated surfaces, remote sessions, and some security-sensitive windows may block capture. Respect content rights and platform restrictions rather than trying to bypass them.
The file is too large or the laptop becomes slow
Close unnecessary apps, free storage space, shorten the test, and avoid recording a larger area than the task needs. Long, high-motion captures need more storage and processing than a short selected-area tutorial.
What the Older Competitor Guide Misses
The public FonePaw HP laptop guide is useful evidence that the manufacturer-modifier query has durable support intent. Its visible article is dated 2022 and organizes the task around FonePaw Screen Recorder, Windows Game Bar, and PowerPoint.
A current guide should add the Windows 11 Snipping Tool video path, use Microsoft's latest shortcuts, separate system audio from microphone narration, and make it clear that HP does not have one universal proprietary screen recorder. It should also avoid presenting a Mac-first product as a Windows solution.
Redol Screen Recorder is currently built for macOS, not HP Windows laptops. If you also record tutorials on an Apple Silicon Mac, the Redol Screen Recorder page documents its local MP4 workflow. For an HP laptop, use the Windows methods above or research a dedicated Windows recorder that fits your capture and privacy requirements.
HP Laptop Screen Recording Checklist
- Check whether the laptop runs Windows 11 or Windows 10.
- Choose a selected area, one app, or a presentation before choosing the tool.
- Close private messages, notifications, password managers, and unrelated tabs.
- Confirm available storage space.
- Select system sound and microphone sources separately.
- Make and review a ten-second test.
- Record the final clip.
- Open the saved MP4 and verify video, audio, and cursor visibility.
- Trim or edit only after confirming the source recording is usable.
For most current Windows 11 HP laptops, Snipping Tool is the best first choice for a selected area. Use Xbox Game Bar for one app or game with audio, and use PowerPoint when a selected-area recording belongs in a presentation workflow.
Related posts
About the Author

Zhang Guo
AI Product Manager · Digital Marketing Consultant
AI product manager and digital marketing consultant with a background in music. I see creativity as the bridge between rhythm and logic, where musical intuition and mathematical precision can coexist in every meaningful product decision.
Follow on X