If you searched for screen capture modes, you are probably trying to understand a recorder setting before it ruins a video. The phrase can mean two different things:
- the area mode you choose, such as full screen, window, or selected region
- the capture engine mode the recorder uses underneath, such as Auto, a modern Windows capture path, DXGI, or an older fallback
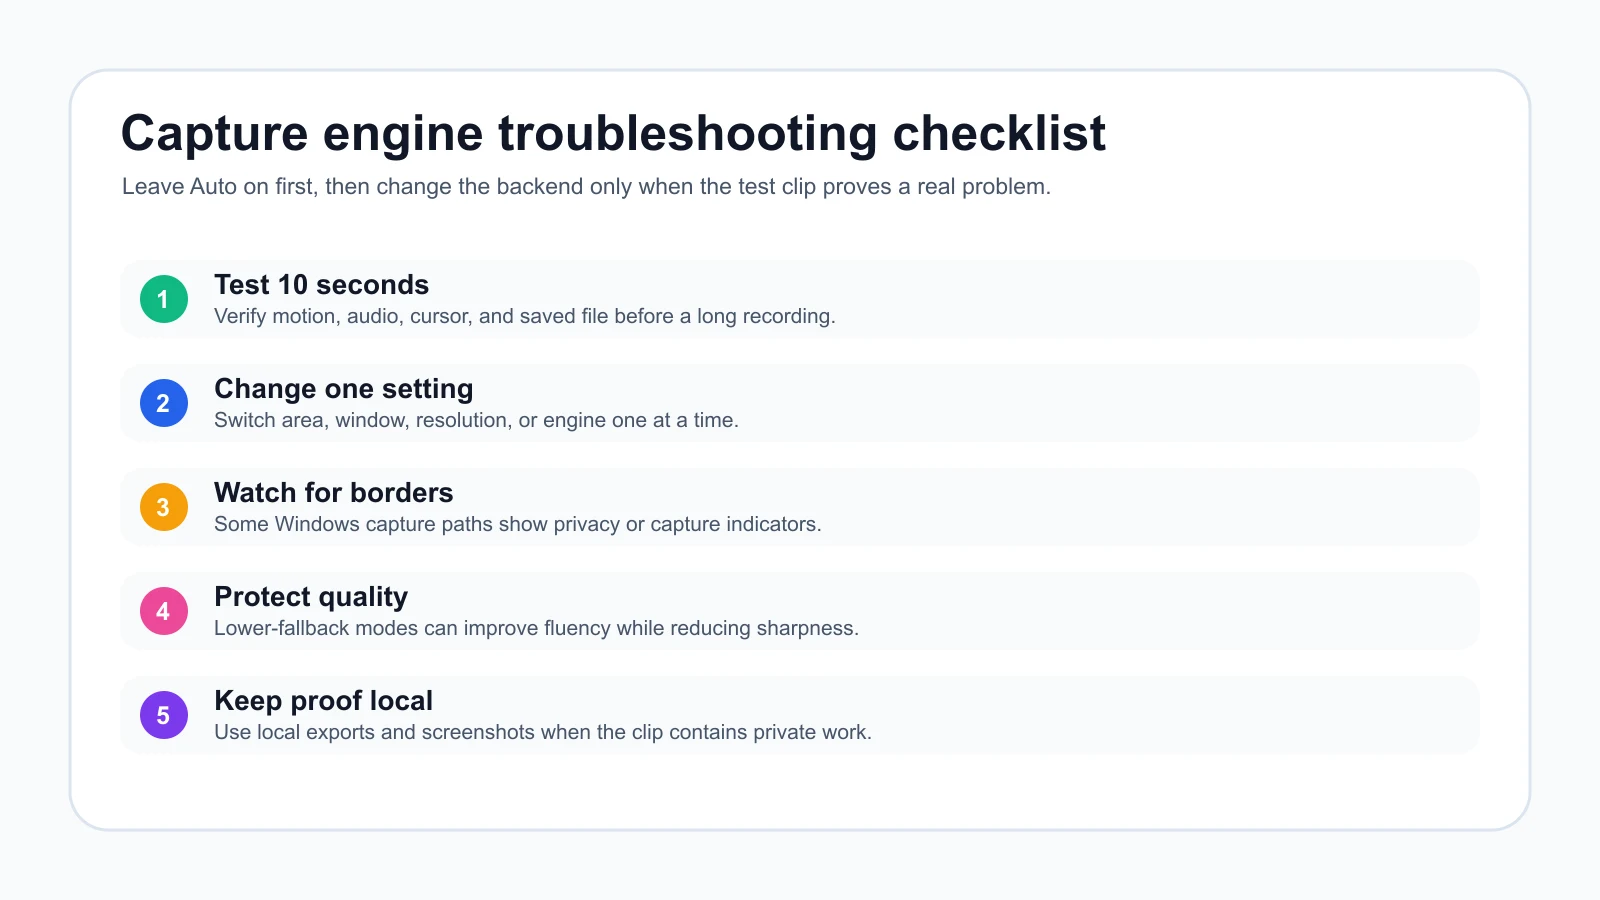
For most recordings, keep the engine on Auto and choose the visible area intentionally. Change a manual engine mode only when a short test clip proves there is a quality, fluency, compatibility, or border problem.
Quick Screen Capture Mode Comparison
| Mode | Choose it when | Watch out for |
|---|---|---|
| Full display | You need to show the whole desktop, multiple apps, or a complete audit trail | Private tabs, notifications, and second-monitor clutter |
| Window | One app is the entire story | Popups, menus, and child dialogs can escape the expected frame |
| Selected region | You need privacy, focus, or a small product-demo area | Tiny UI may need zoom, cursor emphasis, or a tighter export crop |
| Webcam overlay | The viewer needs presenter context with the screen | The facecam can cover buttons, captions, or sensitive UI |
| Auto engine | The recorder can select the best backend for the device | Leave it alone unless the test export shows a real issue |
| Manual engine | A recorder exposes backend choices for troubleshooting | Changing it can trade sharpness, fluency, compatibility, or privacy indicators |
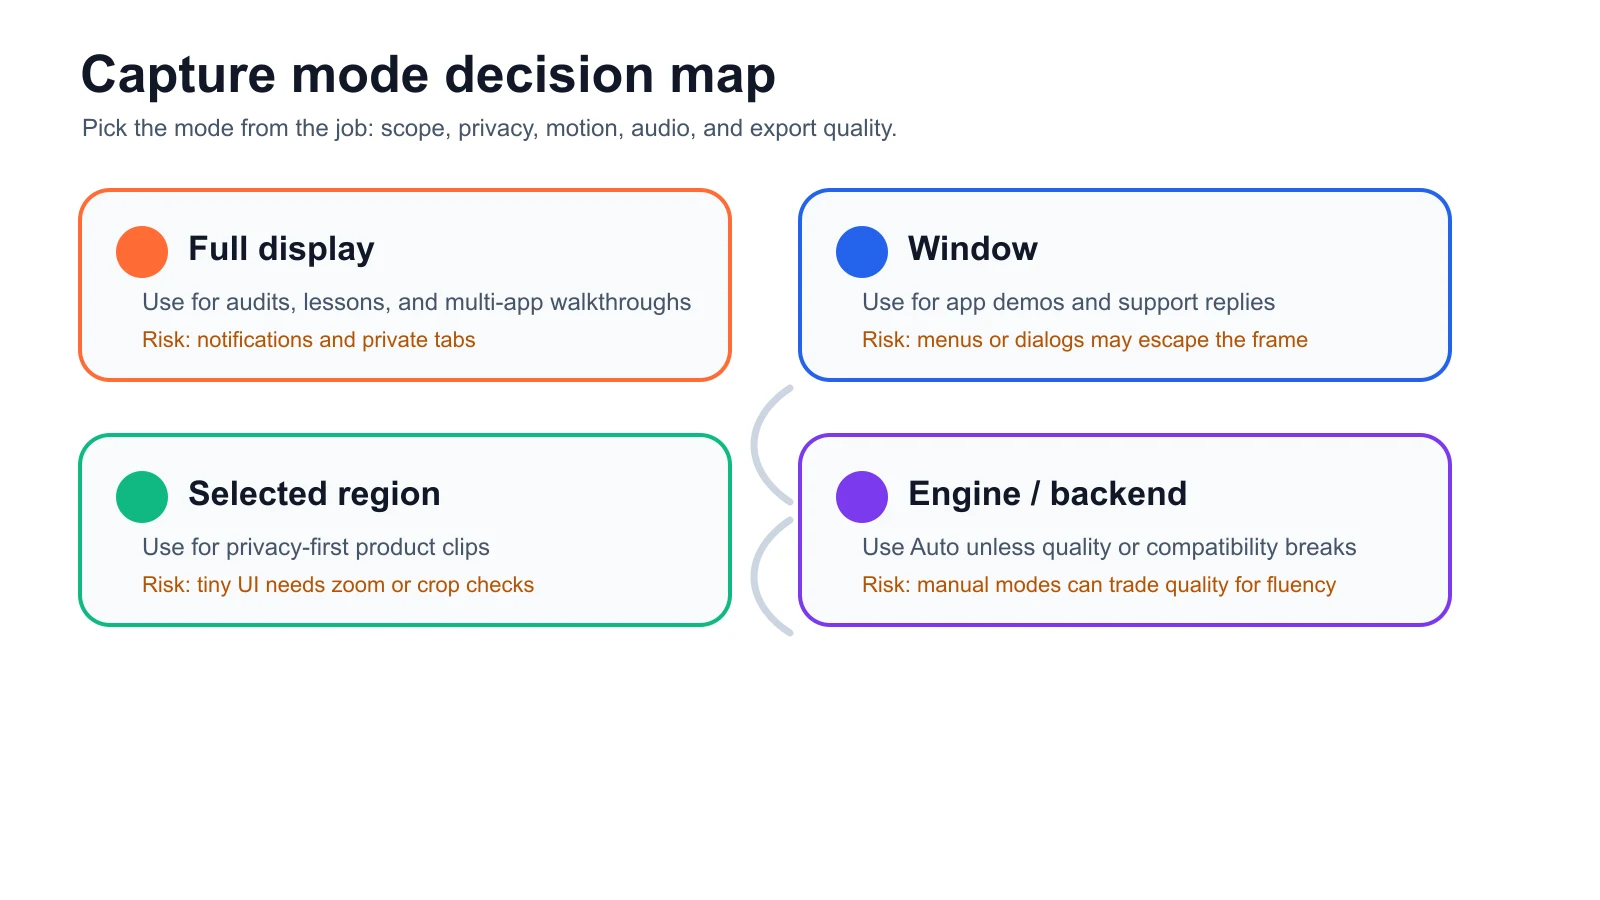
The practical rule is simple: pick the smallest mode that still explains the task. If the viewer only needs one panel, do not record the whole desktop. If the recording is a reusable tutorial, test audio, cursor visibility, and export quality before the real take.
Why Capture Modes Get Confusing
Competitor recorder FAQs often use "capture mode" to mean the internal backend rather than the visible area. The reviewed FonePaw page, FonePaw's screen capture modes FAQ, describes Auto mode plus manual options named Magnifier, WinRT, DXGI, and GDI. Its advice is mainly troubleshooting-oriented: leave the default mode unless the recorder has trouble on the device.
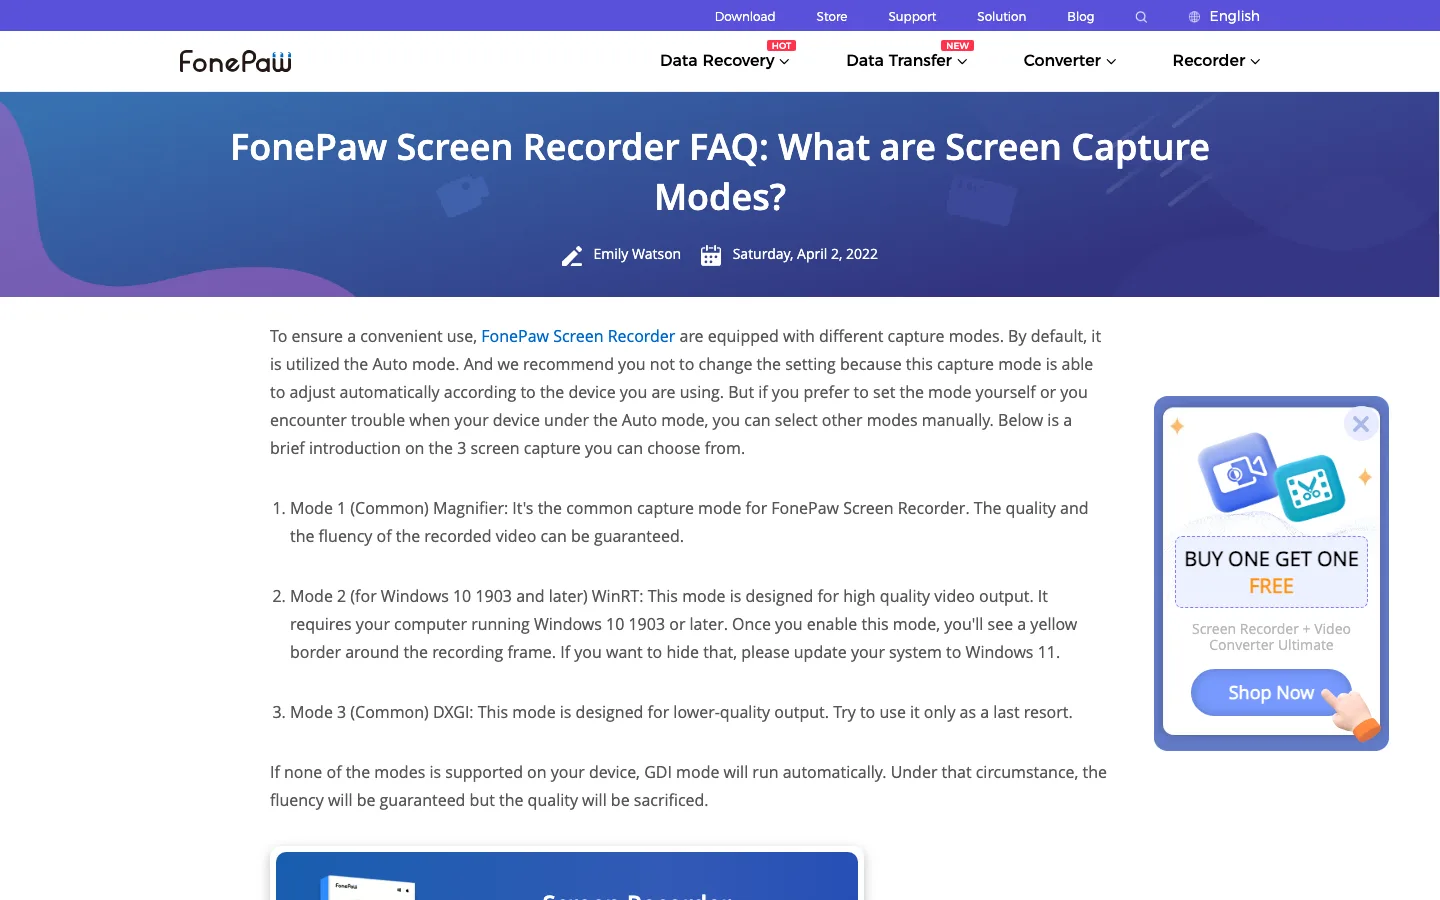
That page proves search demand, but Redol should not copy the same narrow FAQ. The better Redol article is a neutral decision framework: first choose the visible recording scope, then understand engine modes only when a test clip exposes a problem.
Capture Area Modes in Plain English
Area modes decide what the viewer can see.
Full Display
Use full display when the relationship between windows matters: a multi-app workflow, settings walkthrough, dashboard audit, course lesson, or bug reproduction that crosses tools.
Avoid it when privacy matters. Full-display recordings can expose browser tabs, notifications, file names, chat previews, and unrelated monitors. If you only need one dashboard card or product panel, selected region is safer.
Window
Window capture is usually the cleanest mode for an app demo. It keeps the recording framed around one application and makes the final video easier to understand.
The catch is that some menus, dropdowns, permission dialogs, or helper windows may not belong to the original window. Always record a 10-second test before the important clip.
Selected Region
Selected region is the privacy-first mode. It is the right choice for support videos, product tutorials, async team updates, and course clips where the viewer only needs one part of the screen.
Apple's current Mac screen recording guide shows that Screenshot and QuickTime can record an entire screen or a selected portion, and Screenshot includes options for microphone, pointer clicks, timer, and save location in Apple's official Mac screen recording guide.
If the selected region is small, combine it with zoom, cursor emphasis, or a larger export size. A private clip still fails if the viewer cannot read the UI.
Capture Engine Modes in Plain English
Engine modes decide how frames are captured under the hood. Most creators do not need to choose them directly, but they matter when a recorder exposes a manual setting.
Auto
Auto is the safest default. The recorder chooses the capture path that best fits the device, operating system, and selected source. Use Auto unless the exported test clip has a specific issue.
Windows Graphics Capture or WinRT
Modern Windows capture paths can ask the user to pick a display or app window through system UI. Microsoft's Windows screen capture documentation describes Windows.Graphics.Capture as APIs for acquiring frames from a display or application window, with a system-picked item and a visible capture border around the active target in Microsoft's Windows screen capture documentation.
That border is not random decoration. It is a user-facing capture indicator. If a tool says a Windows mode may show a yellow border, treat it as an operating-system capture signal, not a bug to hide at any cost.
DXGI
DXGI is a lower-level Windows desktop capture path. Microsoft's Desktop Duplication API documentation explains that desktop images are exposed through DXGI output duplication in the Desktop Duplication API docs.
If a recorder lets you switch to a DXGI-style mode, test motion and sharpness. A fallback that keeps the video fluent can still reduce output quality or behave differently across displays.
GDI
GDI is an older Windows graphics path. Microsoft's Win32 GDI guide shows a traditional bitmap capture flow in its Capturing an Image documentation.
If a recorder falls back to GDI, use it as a recovery path, not a performance promise. The right test is not whether the setting sounds technical. The right test is whether the exported clip is sharp, smooth, readable, and complete.
How Redol Screen Recorder Fits
Redol Screen Recorder is the natural fit when the job is a private, reusable Mac recording rather than a Windows engine-debugging exercise. The current product page positions Redol as a free macOS recorder with no watermarks, no recording time limits, system audio, microphone narration, webcam overlay, zooms, crop and resize controls, cursor actions, and local MP4 export.
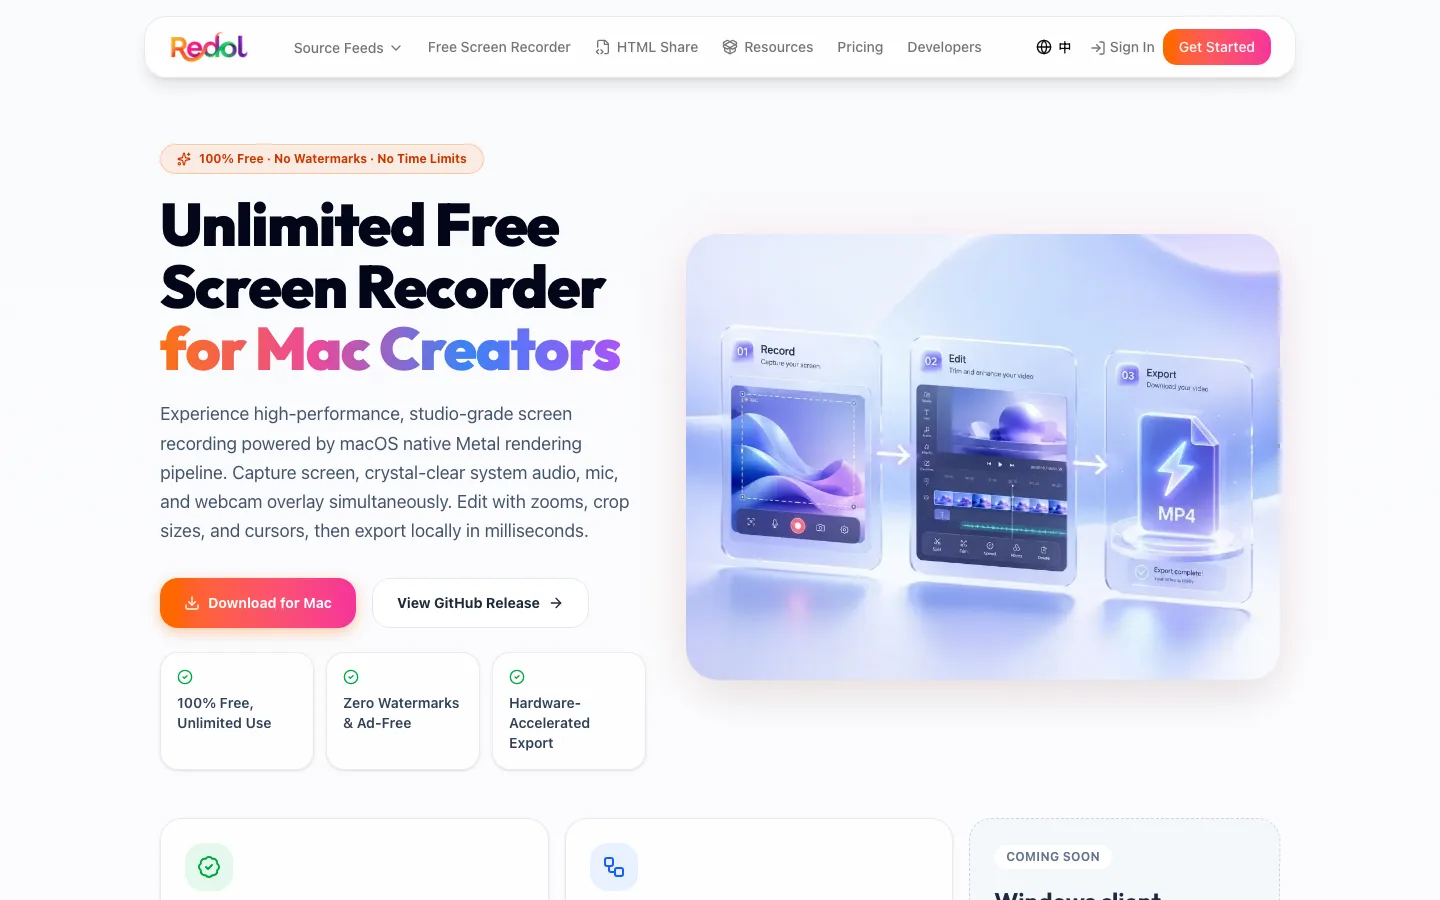
Use Redol when the selected capture area needs to become a useful asset: a product walkthrough, customer support answer, bug report, course module, or short tutorial. Choose the window or custom area, test audio, record locally, then use zoom and crop controls to keep attention on the important UI.
Redol is Mac-first today. The current product page presents Windows as planned, not live. If your issue is a Windows-only capture backend setting, use a Windows recorder or built-in Windows route and keep Redol as the Mac workflow option.
Record the useful screen area without losing control
Use Redol Screen Recorder for local Mac recordings with system audio, mic narration, webcam overlay, zooms, cursor emphasis, crop controls, and clean MP4 export.
Troubleshoot Capture Mode Problems
| Symptom | Likely mode issue | What to try first |
|---|---|---|
| The recording shows too much private context | Area mode is too broad | Switch from full display to window or selected region |
| The app menu or popup is missing | Window capture missed a child surface | Test full display or selected region around the app |
| The clip is blurry after export | Region is too small or fallback engine reduced quality | Enlarge the region, increase export size, or return to Auto |
| Motion stutters | Capture engine or resolution is too heavy | Record 10 seconds, then change one setting at a time |
| System audio is missing | Audio source was not tested with the capture mode | Check the selected audio source before a long recording |
| A capture border appears | The operating system is showing an active capture indicator | Treat it as a privacy signal and verify the selected target |
Do not troubleshoot by changing five settings at once. Start with a short export. If the screen area is wrong, change the area mode. If the image is wrong while the area is right, then look at quality, resolution, permissions, or engine settings.
When to Use Existing Guides Next
If your real task is privacy-first region recording, use the deeper guide to record part of your screen. If the hard part is sound, read how to screen record on Mac with audio. If you are still choosing a recorder, compare free screen recorders without watermarks.
Screen capture modes are not a feature checklist. They are a way to protect the recording job. Choose what the viewer should see, test the export, keep the engine on Auto unless there is evidence, and use a recorder that matches the operating system and final asset you need.
Related posts
About the Author

Zhang Guo
AI Product Manager · Digital Marketing Consultant
AI product manager and digital marketing consultant with a background in music. I see creativity as the bridge between rhythm and logic, where musical intuition and mathematical precision can coexist in every meaningful product decision.
Follow on X