If you searched for how to record part of screen, the real job is usually privacy and focus. You want the viewer to see the exact app window, browser panel, dashboard card, or bug reproduction area without exposing the rest of your desktop.
The fast answer is simple: use the built-in selected-area recorder when you only need a quick clip, and use a dedicated Mac recorder when the clip needs system audio, microphone narration, webcam overlay, zooms, cursor emphasis, crop control, and a clean local MP4 export. If you are on Windows, use a Windows recorder or Windows 11's built-in recording path; Redol Screen Recorder is Mac-first today.
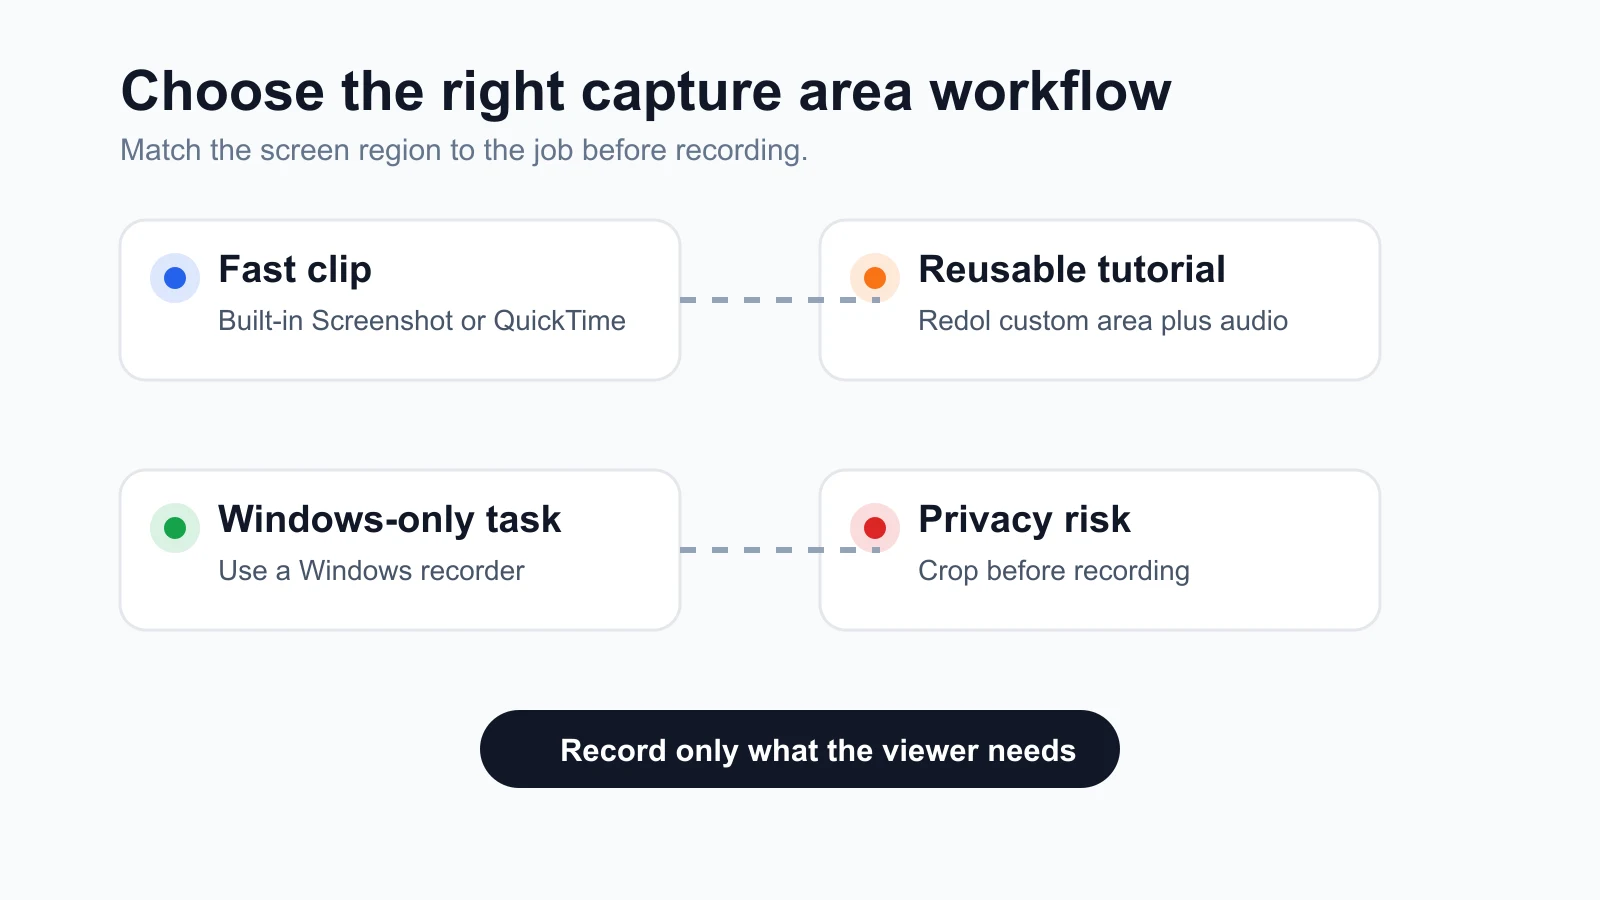
Choose the Right Partial-Screen Workflow
Start with the recording job, not the tool name.
| Recording job | Best first path | Why it fits | Watch out for |
|---|---|---|---|
| Quick Mac voice clip | Screenshot or QuickTime selected portion | Fast, built in, and good for a short explanation | Test the microphone before the final take |
| Mac product tutorial | Redol Screen Recorder | Custom area, system audio, mic, webcam, zooms, cursor emphasis, crop/resize, and local MP4 export | Keep the recommendation Mac-specific |
| Windows 11 selected-area clip | Snipping Tool record mode | Built into current Windows 11 workflows and useful for quick partial-screen clips | Confirm audio and export behavior before long recordings |
| Windows 10 or gaming clip | Windows recorder or app-specific recorder | Better fit when the job is Windows-only, game-focused, or app-specific | Do not use a Mac-first recorder as a fake Windows solution |
| Private support video | Small fixed region plus preflight checklist | Reduces accidental exposure of tabs, chats, files, and customer data | Crop before recording, not only after |
Method One Use Screenshot or QuickTime on Mac
Apple's official Mac screen recording guide explains the built-in flow for recording the screen from Screenshot or QuickTime Player. The useful part for this task is that you can choose a selected portion of the screen before recording, and you can pick a microphone when narration matters in Apple's Mac screen recording guide.
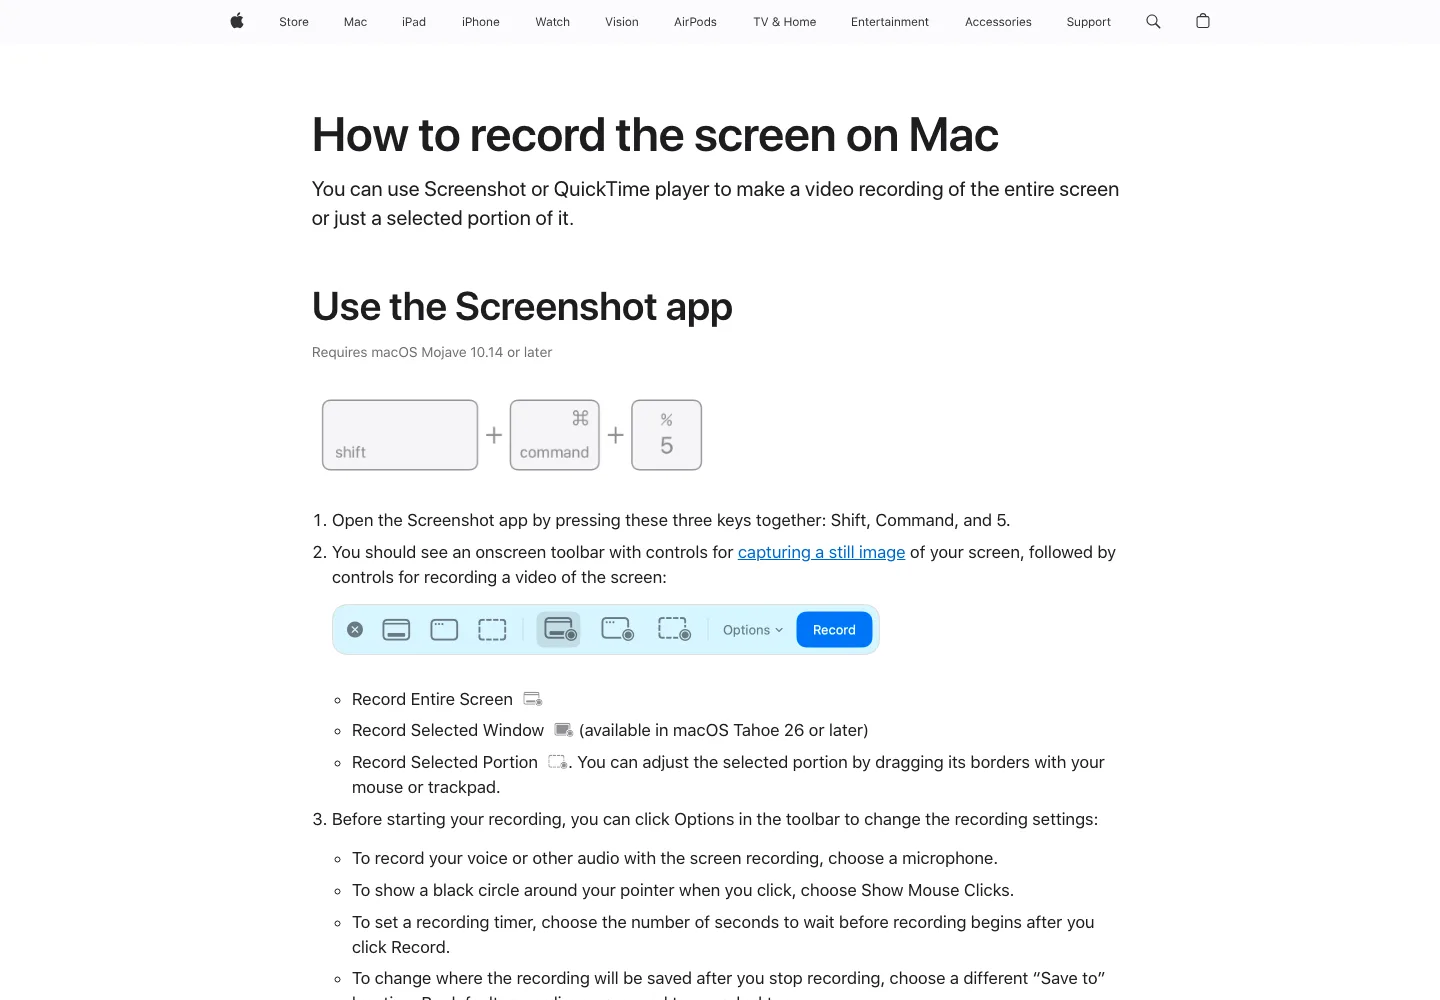
Use this path when the clip is short and simple:
- Press
Shift + Command + 5. - Choose the selected-portion recording option.
- Drag the rectangle around the app window, browser panel, or UI area you want to show.
- Open Options and choose a microphone if narration matters.
- Record 10 seconds, stop, and watch the export before recording the real clip.
This is usually enough for a bug report, quick async note, or internal walkthrough. It becomes weaker when you need system audio, webcam overlay, cursor emphasis, repeatable crop sizing, zooms, or a cleaner editing/export path.
Method Two Use Windows Snipping Tool for Simple Clips
Microsoft's current support page for Snipping Tool says Windows can open a recording overlay with Windows + Shift + R, and its capture modes include rectangle, window, full-screen, and freeform options for snips. That makes the built-in Windows route a reasonable first check when you need a quick selected-area clip on Windows 11. See Microsoft's Snipping Tool support page for the current Windows guidance.
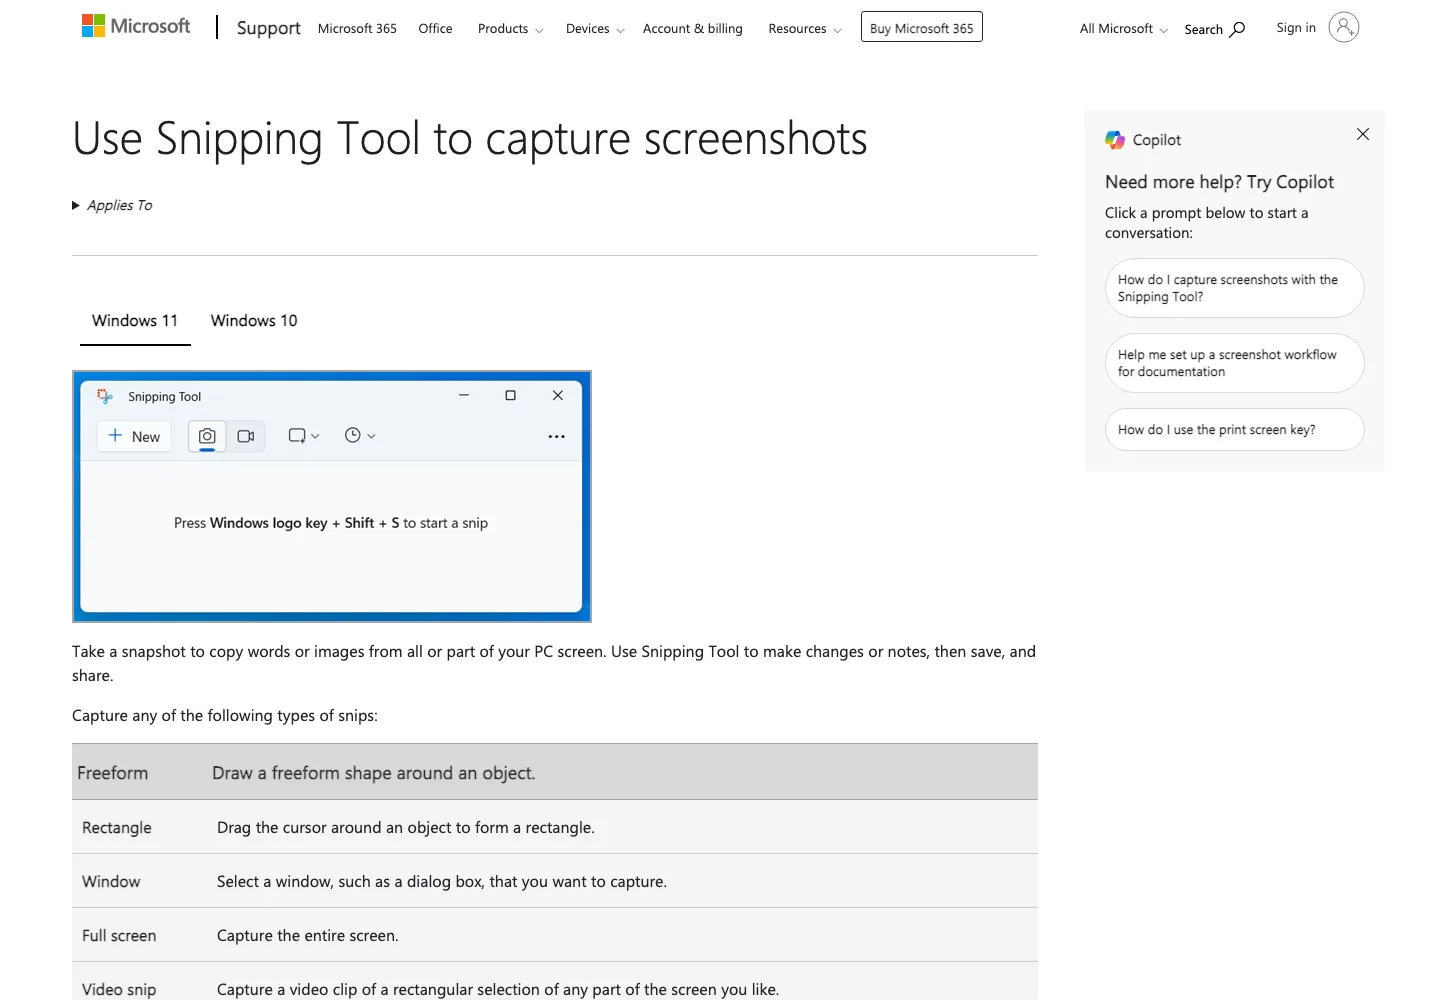
Use this path when:
- you are on Windows 11
- the recording is short
- a simple selected rectangle or window is enough
- you do not need a Mac-specific local creator workflow
Before recording something important, test the exported file. Built-in tools are convenient, but audio, permissions, and save-location behavior can still surprise you.
Method Three Use Redol for Mac Creator Recordings
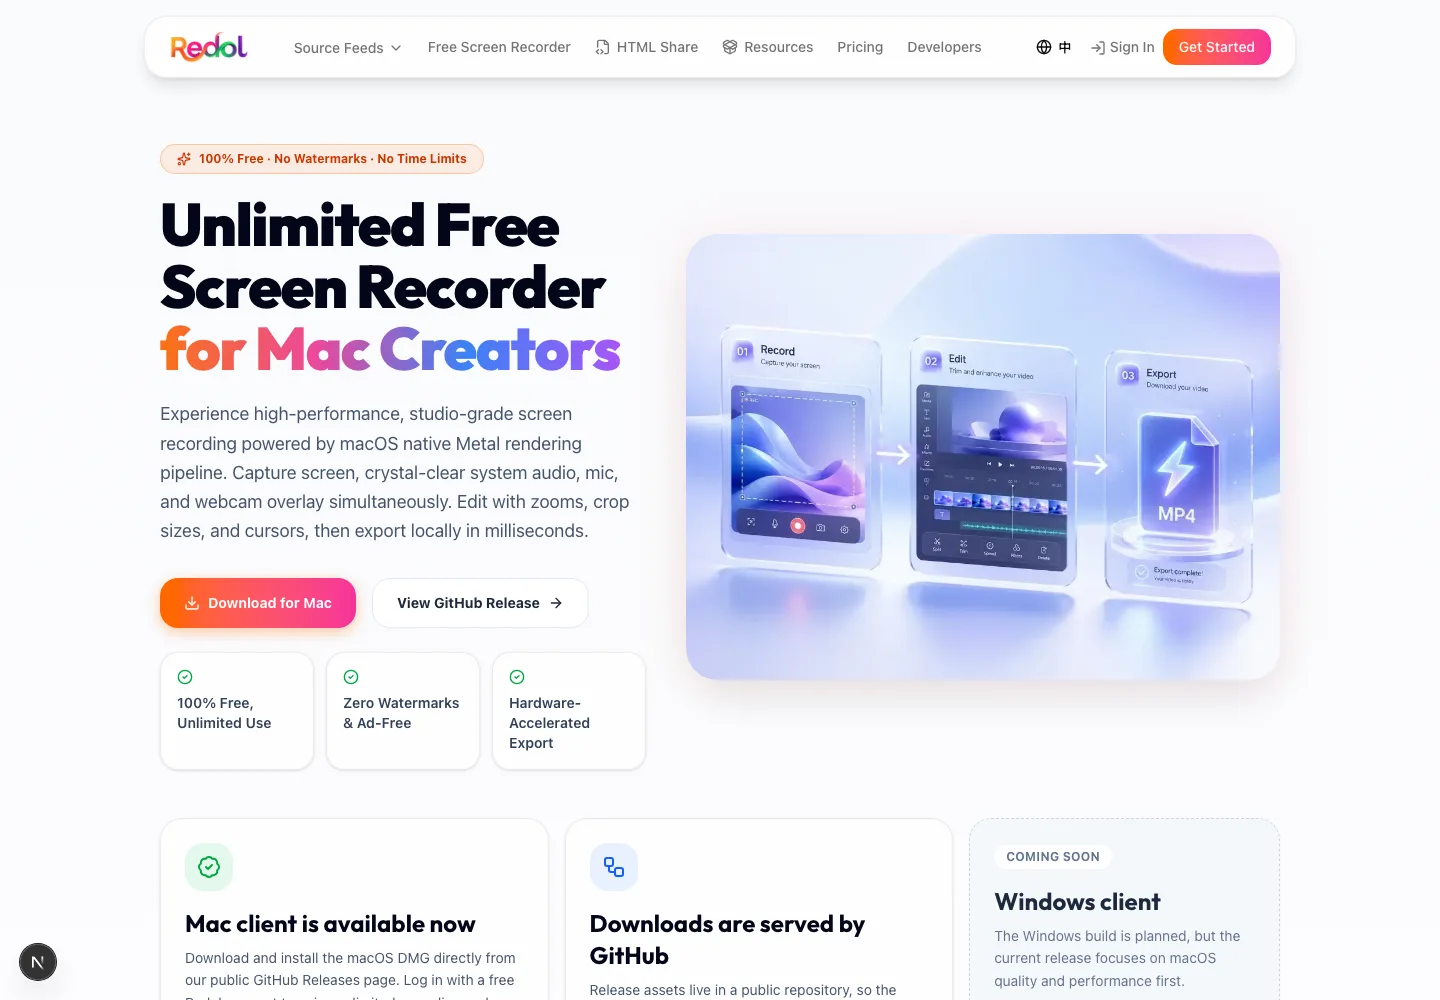
Redol Screen Recorder is the better fit when the partial-screen clip is meant to become a reusable asset: product demo, tutorial, customer support answer, course module, or async team update. The current Redol product route positions it as a free macOS recorder with no watermarks, no time limits, system audio, microphone narration, webcam overlay, zooms, crop and resize controls, cursor actions, and local MP4 export.
Use Redol when you need to:
- Choose a window or custom area before recording.
- Capture system sound and microphone narration together.
- Add webcam overlay when the tutorial needs a human explanation.
- Use zooms and cursor emphasis so small UI details are visible.
- Crop or resize the result without moving into a heavy editing app.
- Export a local MP4 without a watermark.
The honest platform boundary matters: Redol is a Mac recorder today, and the current product page presents the Windows client as planned rather than live. If your task is Windows-only, use a Windows recorder instead of stretching the Redol recommendation.
Record only the useful part of your Mac screen
Use Redol Screen Recorder for selected-area Mac recordings with system audio, mic narration, webcam overlay, zooms, cursor emphasis, crop controls, and local MP4 export.
What the Competitor Page Proves
The reviewed competitor URL, FonePaw's partial-screen recording article, confirms that searchers want more than one generic "record screen" answer. Its page is article-shaped and focuses on recording a certain part of the screen, with branches such as changing the capture size, following the mouse, locking a window, and excluding a window.
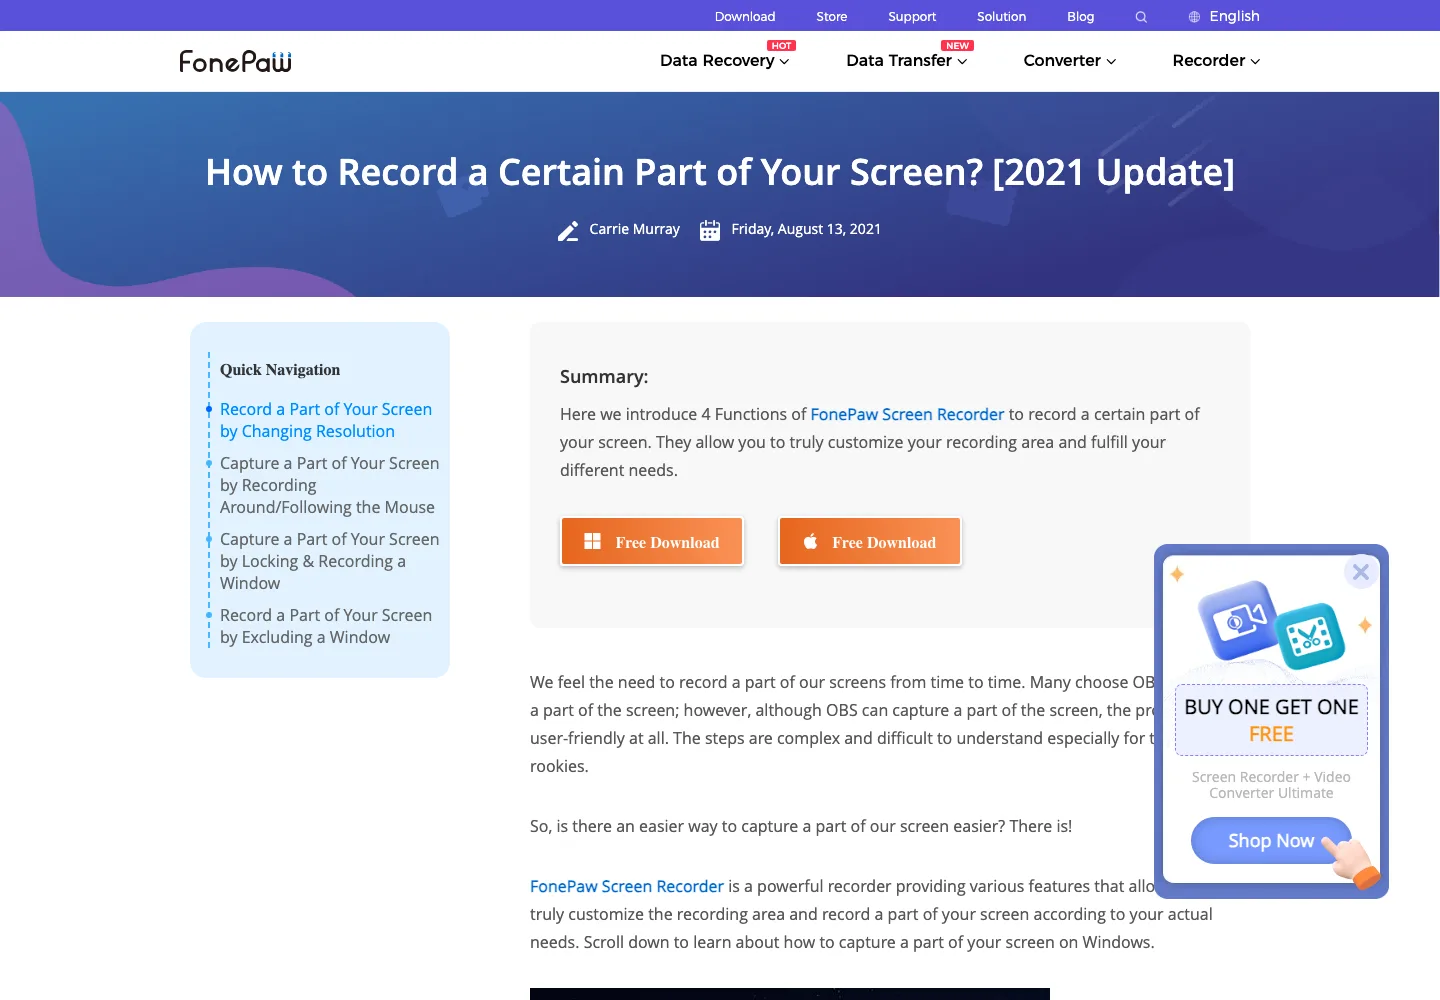
That demand is useful, but Redol should not copy the same angle. The stronger Redol angle is privacy-first Mac recording: decide what should be visible, choose a fixed region, test audio, use zoom/cursor emphasis for small UI, and export a local no-watermark MP4 that can become a support asset or tutorial.
Partial-Screen Recording Preflight
Run this checklist before every important partial-screen recording.
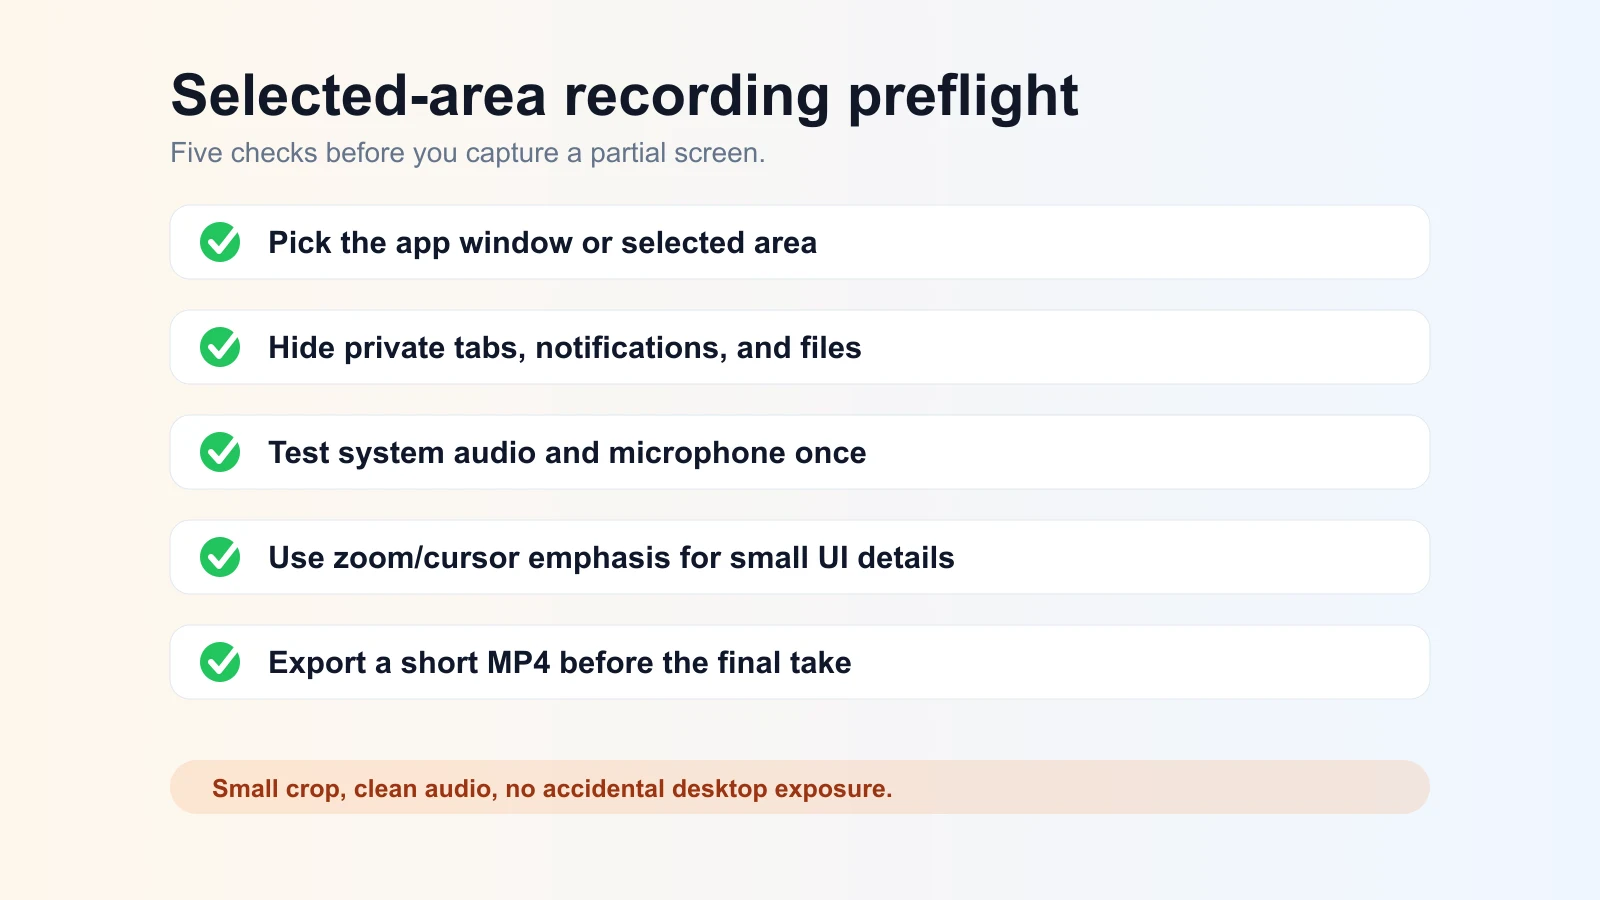
- Pick the region first. Decide whether the viewer needs the whole app, one window, one browser panel, or one dashboard card.
- Hide private context. Close customer tabs, chat apps, downloads, calendar alerts, and private files.
- Test audio once. Speak into the microphone and play app sound if system audio matters.
- Check cursor clarity. Slow down cursor movement and use zoom/cursor emphasis for small controls.
- Record a 10-second rehearsal. Watch it before the final take.
- Export locally. Confirm the file is the right format, has the right audio, and does not show extra desktop space.
Common Partial-Screen Recording Mistakes
| Mistake | Why it hurts the recording | Better habit |
|---|---|---|
| Cropping after recording a full desktop | Private content may already be captured in the source file | Select the region before recording |
| Recording a tiny UI with no zoom | Viewers cannot read the important action | Use zoom or record a tighter region |
| Forgetting audio testing | The final clip can be silent or uneven | Record 10 seconds and listen back |
| Capturing all monitors | Notifications and unrelated work can appear | Record only one display, window, or region |
| Using a Mac workflow for a Windows-only task | The recommendation becomes misleading | Choose a Windows-native recorder when the OS is the job |
| Treating region recording as editing only | A bad capture can still leak context | Plan the screen, audio, cursor, and export before the take |
If audio is the harder part of the task, use the deeper Redol guide to screen record on Mac with audio. If the bigger decision is watermark-free output across tools, compare free screen recorders without watermarks.
Final Recommendation
For a fast Mac clip, start with Screenshot or QuickTime and record a selected portion. For a simple Windows 11 clip, start with Snipping Tool and test the export. For a reusable Mac tutorial, product demo, or support video, use Redol Screen Recorder so the selected area, audio, cursor clarity, crop, and local MP4 export stay in one workflow.
The best partial-screen recording is not the one with the most features. It is the one that shows exactly what the viewer needs and nothing they should not see.
Related posts
About the Author

Zhang Guo
AI Product Manager · Digital Marketing Consultant
AI product manager and digital marketing consultant with a background in music. I see creativity as the bridge between rhythm and logic, where musical intuition and mathematical precision can coexist in every meaningful product decision.
Follow on X