Topic: Screen recording guides
To schedule screen recording with audio, use a recorder that can start at a specific time, not only stop after a set duration. Configure the capture area, system sound, microphone, start and end time, repeat rule, and output folder. Then keep the computer awake and run a short scheduled test before the real session.
That last test matters. A schedule can be saved correctly and still fail because the recorder was closed, the computer went to sleep, the wrong window was selected, or the audio source changed.
The Fast Scheduling Workflow
Use this sequence whether the recorder runs on Windows or macOS.
- Confirm it has a true scheduler. Look for a specific start time, end time or duration, and one-time or repeating tasks.
- Choose the capture target. Select the full display, a fixed region, a window, webcam, or audio-only mode before saving the task.
- Set audio deliberately. Enable system sound, microphone, or both. Use headphones if speaker output could feed back into the mic.
- Set the time and repeat rule. Check the date, time zone, one-time/daily/weekly choice, and what should happen after recording.
- Prevent sleep and interruptions. Keep the computer powered, signed in, awake, and connected to the expected display and audio devices.
- Run a short scheduled test. Schedule a one-minute task, open the exported file, and verify video, sound, framing, and save location.
Choose the Right Kind of Timer
The phrase “screen recorder with timer” covers three different controls. Make sure the product supports the one you actually need.
| Control | What it does | Best use | Main failure risk |
|---|---|---|---|
| Scheduled start | Begins recording at a date and time | Classes, meetings, demos, and planned sessions | App is closed, computer sleeps, or target window changes |
| Scheduled stop | Ends recording at a time or after a duration | Long sessions where you cannot stay at the keyboard | Disk fills before the stop time or the wrong duration is saved |
| Repeating task | Runs one schedule daily or weekly | Recurring sessions with the same setup | Time zone, daylight-saving, or device changes break the routine |
If you are still choosing a product, use the broader comparison of screen recorders with timer tools. The rest of this guide focuses on operating the schedule safely after you have chosen a recorder.
How to Build a Reliable Scheduled Task
Step 1. Define the recording job
Write down the start time, expected duration, capture target, audio sources, output folder, and whether the task repeats. Decide whether you need screen plus audio, audio only, webcam, or a fixed region.
Avoid scheduling a floating window unless you know it will open in the same position. A full display or fixed region is usually more predictable for unattended capture.
Step 2. Configure video before the clock
Open the exact page or application you intend to record. Select the display, window, or region and verify that private notifications, password managers, customer data, and unrelated tabs will not appear.
If the recorder remembers the most recently used capture mode, set that mode immediately before saving the schedule. Do not assume it will reopen with yesterday's target.
Step 3. Configure system sound and microphone
System sound records the application or meeting audio. The microphone records your room or narration. Enable only what the session needs.
For system sound plus microphone:
- use headphones to reduce echo
- select the exact microphone instead of an automatic default
- verify input meters move before saving the task
- avoid changing Bluetooth or USB devices after the test
- record a sample and listen to both channels
For Mac-specific system-audio setup, use the detailed guide to screen recording on Mac with audio.
Step 4. Save start, end, and repeat settings
Enter the task name, date, start time, end time or duration, and repeat rule. If the recorder offers an after-recording action, choose deliberately: do nothing, exit the app, sleep, or shut down.
Use a name that identifies both the session and the capture target, such as weekly-product-demo-display-1. Clear names reduce the chance of editing the wrong recurring task later.
Step 5. Keep the computer ready
Before leaving the computer:
- connect power for a long recording
- prevent sleep for the full session
- keep the required recorder running if its scheduler needs that
- confirm the expected display and audio devices are connected
- close private notifications and unrelated apps
- leave enough disk space for the worst-case duration
- confirm the output folder is mounted and writable
Step 6. Prove the workflow with a short task
Set a test to start two or three minutes from now and stop after one minute. Do not skip ahead manually. Let the same scheduling path start the recording.
Open the exported file and check:
- the recording started without a click
- the correct area or display was captured
- system sound and microphone are both present when required
- the output folder and file format are correct
- the task stopped and the file finalized cleanly
What Current Official Guides Show
The exact buttons vary, but current public guides reveal the same operating pattern: define a task, set time and repeat behavior, choose the capture target and audio, keep the app and computer available, then test.
FonePaw separates record length from task scheduling
The official FonePaw scheduling guide documents two jobs: setting a recording length so an active recording stops automatically, and adding a task schedule so recording starts and ends at planned times. The page also warns that the computer should not be shut down, locked, or asleep when the task is due.
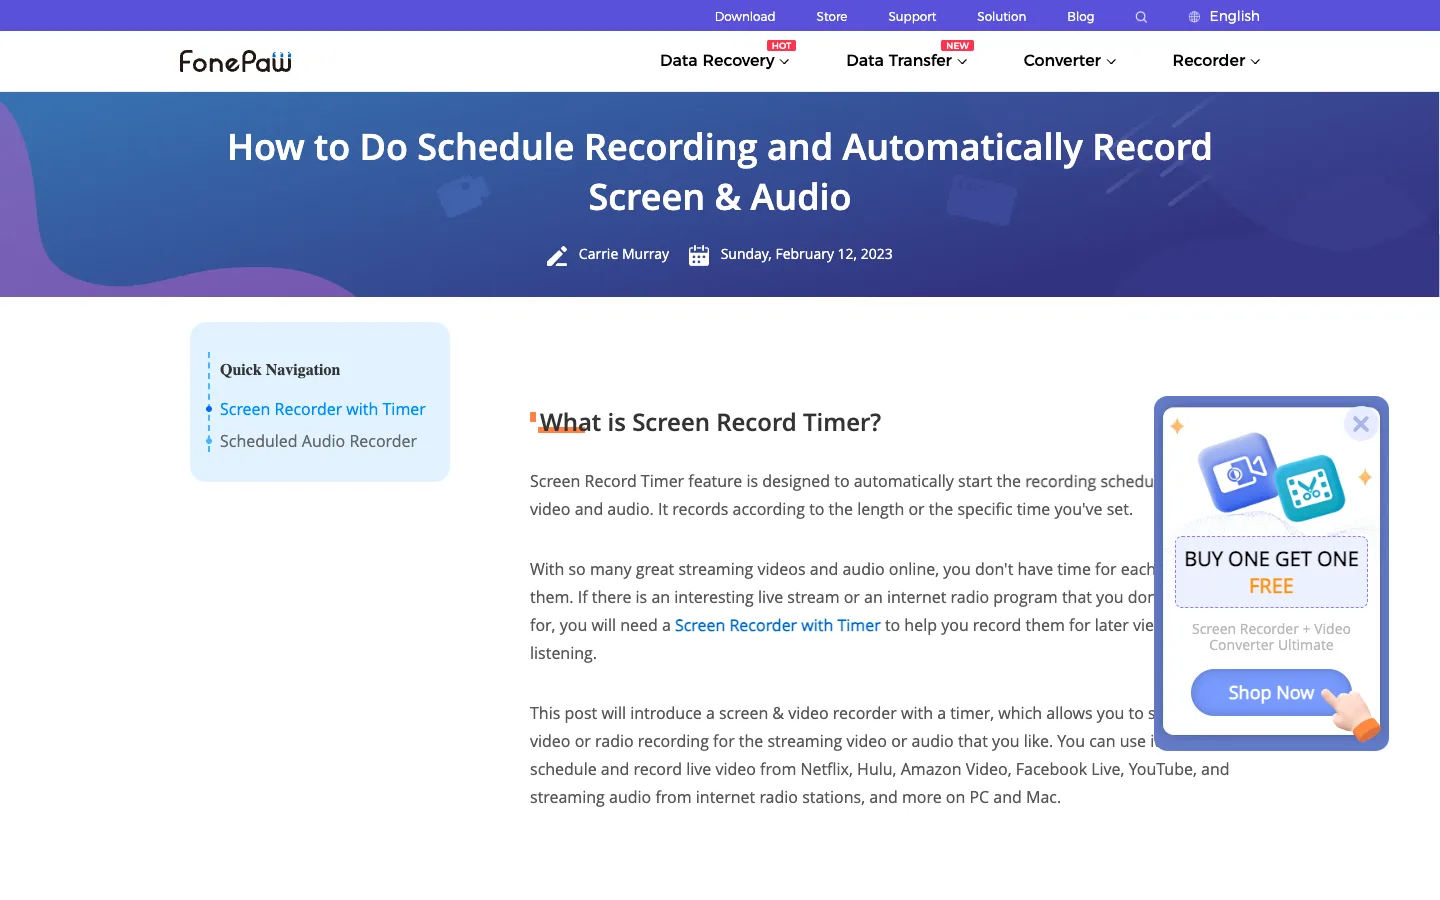
Use that distinction as a product check. If a recorder only documents record length, it may solve automatic stop without solving unattended start.
Bandicam documents the Windows scheduler dependency
Bandicam's official scheduled-recording guide describes one-time, daily, and weekly tasks with start time, end time, duration, capture target, and after-recording behavior. The guide says its built-in schedule works while Bandicam is running and points Windows users to Task Scheduler plus command-line parameters when they need a task to start without the app already open.
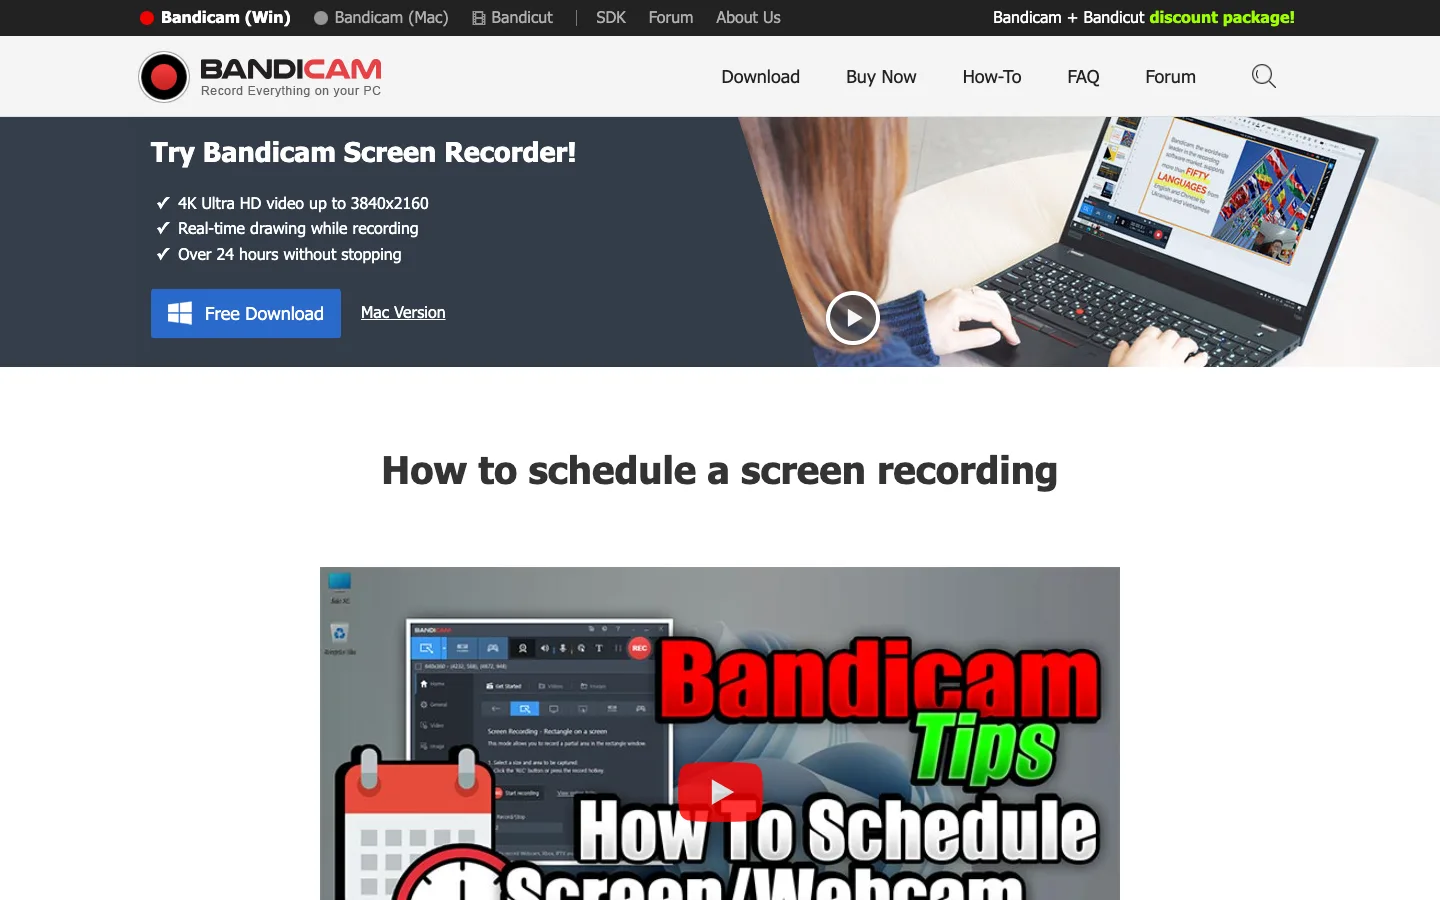
That is a useful reliability question for any Windows recorder: does the built-in scheduler require the app to remain open, and is there a documented recovery path after a restart?
EaseUS shows the cross-platform task fields
The official EaseUS schedule-recording guide describes task naming, start and end time, repeat behavior, capture area, audio input, webcam options, and an action after recording. Its public page positions the workflow for Windows and Mac, but current installer, plan, watermark, and export terms should still be verified before an important session.
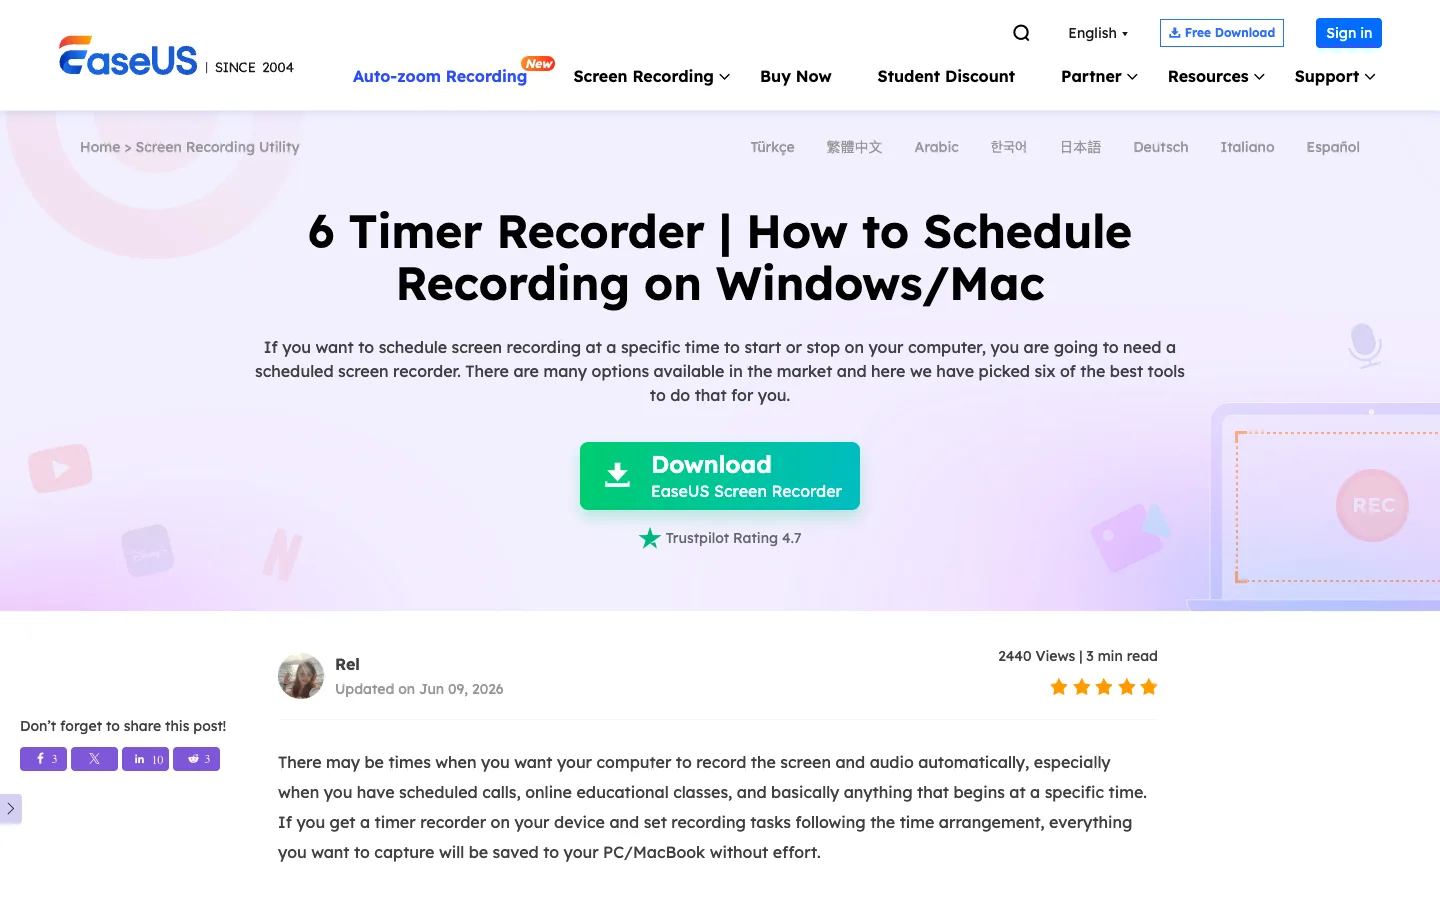
Use the fields as a preflight model even if you choose a different recorder. A dependable task needs time, target, audio, destination, and failure handling—not only a calendar icon.
Prevent the Most Common Failures
The computer sleeps before the start time
Keep the computer awake and connected to power. A scheduler cannot capture a session if the operating system suspends the recorder or disconnects the display.
The recorder opens but captures the wrong target
Use a fixed display or region when possible. Reopen the target application before the test and confirm the recorder preserves the same capture mode after relaunch.
The video works but audio is silent
Check screen-recording and microphone permissions, confirm system sound is enabled, and make sure the selected microphone still exists. Bluetooth devices can switch profiles or disconnect, so use a stable wired or built-in input for unattended work when practical.
The recording stops without a usable file
Leave more disk space than the expected file size, save to a local writable folder, and test the finalization step. Network drives and removable media add failure points.
The recording captures content you should not save
Record only sessions and media you are authorized to capture. Get consent where required, respect platform and workplace rules, and avoid scheduling protected streaming content merely because a recorder can see it. Hide notifications and sensitive data before the task starts.
When Redol Is the Better Manual Mac Path
Redol Screen Recorder is not presented in current product evidence as a scheduled-start recorder. Do not choose it when the recording must begin while you are away.
Use Redol Screen Recorder when you will start the session manually on an Apple Silicon Mac and need a local MP4 workflow with system audio, microphone narration, webcam overlay, zooms, crop and resize controls, cursor emphasis, no watermark, and no stated recording time limit. The current Redol route also keeps Windows marked as planned, so this recommendation is Mac-specific.
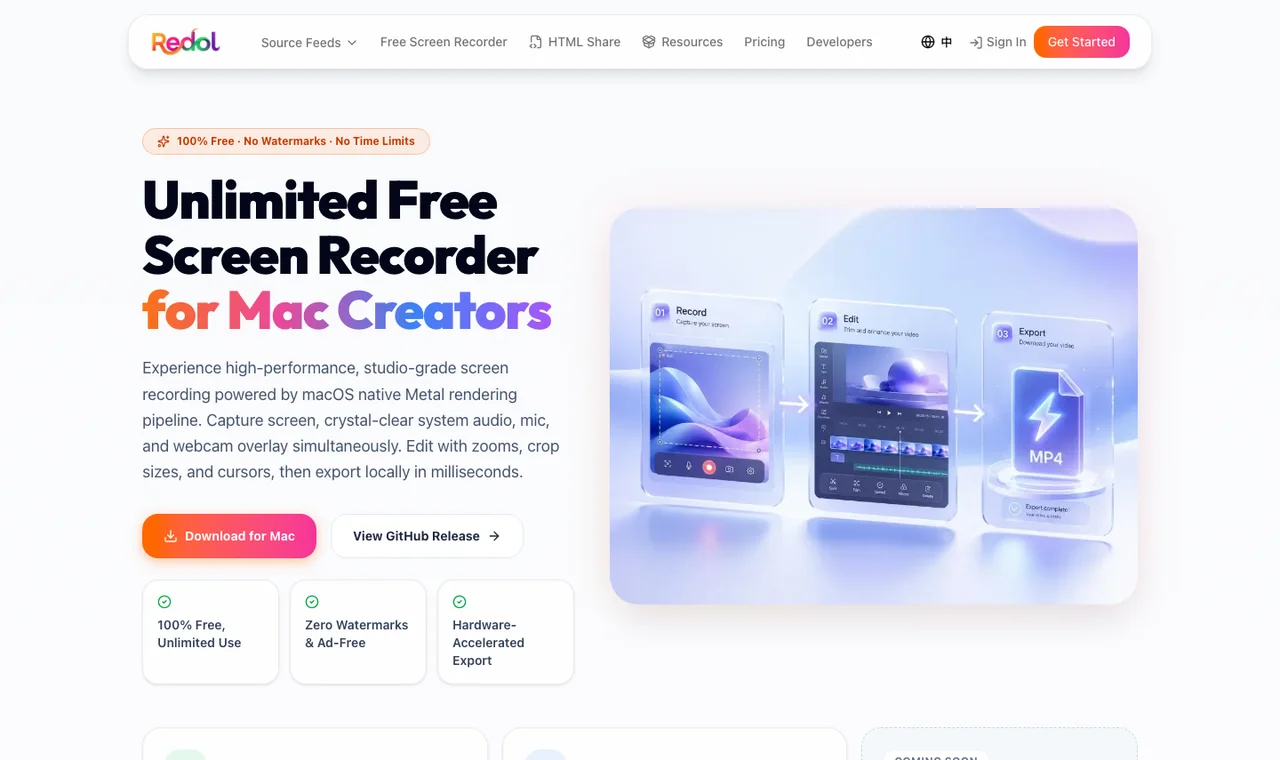
Record a clean local Mac session
Use Redol when you are present to start the recording and need local Mac capture with system audio, mic, webcam overlay, editing controls, and no watermark.
Final Preflight Checklist
Before the real scheduled recording, confirm every item:
- true scheduled start is supported
- date, time, time zone, and repeat rule are correct
- capture display, window, or region is stable
- system sound and microphone are intentionally selected
- headphones prevent speaker-to-mic echo
- recorder stays open if the scheduler requires it
- computer stays powered, signed in, and awake
- private notifications are disabled
- output folder has enough free space
- one short scheduled test has produced a usable file
- the recording is authorized and respects privacy and platform rules
A scheduler should remove the need to click Record at the right moment. It should not remove the need to test. The safest workflow is simple: define the task, prove it with a one-minute schedule, then trust it with the real session.
Related posts
About the Author

Zhang Guo
AI Product Manager · Digital Marketing Consultant
AI product manager and digital marketing consultant with a background in music. I see creativity as the bridge between rhythm and logic, where musical intuition and mathematical precision can coexist in every meaningful product decision.
Follow on X