Topic: Screen recording guides
To use FonePaw Screen Recorder, download the correct Windows or Mac installer from FonePaw, complete the installation, open Video Recorder, choose the capture area and audio sources, and make a short test clip before recording anything important. Register only after the trial behavior and current plan fit your needs.
This guide is based on FonePaw's current public user-guide pages, not invented hands-on testing. It covers the full setup lifecycle: install, first recording, activation, troubleshooting, and removal.
FonePaw Quick-Start Checklist
| Stage | What to do | What to verify |
|---|---|---|
| Download | Use the official FonePaw page and select the correct operating system | The domain is fonepaw.com and the installer matches Windows or Mac |
| Install | Run the Windows installer or move the Mac app into Applications | The app opens without an unexpected security warning |
| Configure | Choose the recording region, system sound, microphone, and optional webcam | The meters respond and private windows are outside the capture area |
| Test | Record 20 to 30 seconds, stop, preview, and save | Video, audio, cursor, frame, and output location are correct |
| Activate | Enter a valid email and registration code only inside the official app | The current plan, device allowance, and refund terms fit your use |
| Remove | Use Windows Installed apps or Finder on Mac | Keep any recordings you need and handle subscriptions separately |
The test clip is the most important step. A recorder can open normally while still capturing the wrong display, the wrong microphone, no system sound, or a private notification.
Start from the Official FonePaw Guide
FonePaw's official getting-started guide currently divides setup into three jobs: installation, registration, and uninstallation. Its user-guide navigation also links to separate instructions for video, audio, webcam, game, phone-screen, editing, settings, and advanced-feature workflows.
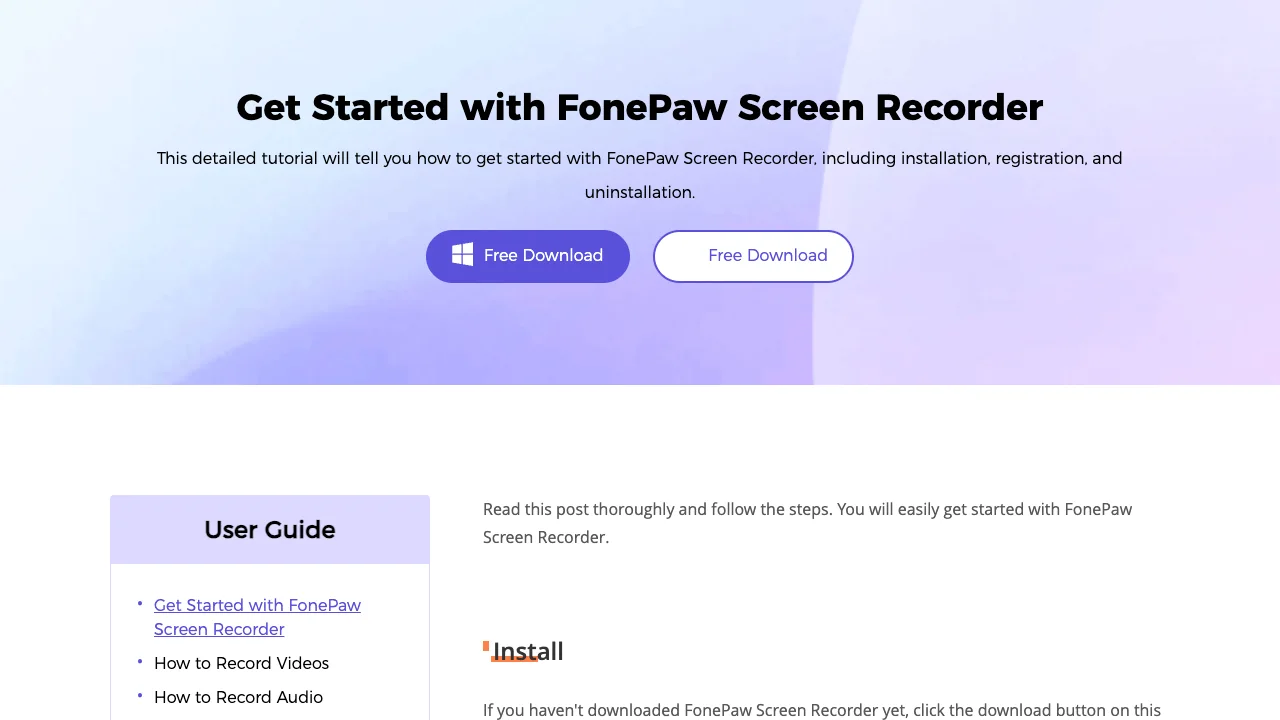
Use that official page as the source for download and account-sensitive actions. Do not rely on a third-party mirror for an installer, and never paste a registration code into a website that is not operated by FonePaw.
Install FonePaw on Windows or Mac
Windows installation
FonePaw's current public guide describes this Windows path:
- Download the Windows installer from the official page.
- Open the downloaded file.
- Select an installation language and continue through the installer.
- Launch the app after installation.
- Start with the available trial path before deciding whether to register.
Before opening the installer, confirm that you intentionally downloaded it and that the file came from FonePaw. If Windows blocks the file or a security tool raises a warning, do not disable protection merely to force the installation. Recheck the source and ask FonePaw support if the warning persists.
Mac installation
The official guide describes downloading the Mac disk image, opening it, and moving the FonePaw app into Applications. On first launch, macOS may ask whether to open software downloaded from the internet.
A screen recorder also needs sensitive permissions. Apple's current instructions place screen and audio controls under System Settings > Privacy & Security > Screen & System Audio Recording. Grant only the access required for the recording job, and review it later if you stop using the app. See Apple's screen and system-audio permission guide for the current macOS path.
Make a Short First Recording
FonePaw's official video-recorder guide currently describes a five-step flow: open Video Recorder, choose the region, set webcam and audio inputs, start recording, then stop, preview, trim if needed, and save.
Use this safer first-run sequence:
- Close password managers, private chats, customer records, and unrelated browser tabs.
- Open Video Recorder and choose one window or a small custom region.
- Enable only the audio sources you need. Watch the microphone and system-audio indicators before recording.
- Record 20 to 30 seconds while speaking and playing a short system sound.
- Stop the clip, preview it, and save it to a known folder.
- Check the file outside the recorder with headphones before starting the real session.
Check four things in the exported file: the intended region is visible, the voice is clear, system audio is present when needed, and no notification or private window entered the frame. If any check fails, fix one input at a time and repeat the short test.
Activate FonePaw Without Creating a License Problem
The current FonePaw getting-started page says registration uses the purchase email and a registration code inside the app. It also points users with activation errors to FonePaw's support center.
Before activating:
- Confirm the current license scope and supported operating systems on FonePaw's official store or support pages.
- Keep the registration code private; do not include it in screenshots, recordings, chat messages, or support posts.
- Verify whether the plan is recurring or perpetual and read the current refund terms before paying.
- Use the same purchase email that received the code.
- If activation fails, capture the exact error message without exposing the code, then use the official FonePaw support center.
Do not use unofficial keys, cracks, or patched installers. Besides the legal and security risk, they make recorder behavior impossible to verify.
Fix Common First-Run Problems
| Problem | Likely cause | First check |
|---|---|---|
| Black or blank capture | Wrong region, protected content, or capture-mode conflict | Test a normal desktop window and reselect the capture area |
| No system sound | System audio is off or the operating system permission is missing | Turn on the intended source and repeat a short sound test |
| No microphone | Wrong input device or muted level | Select the correct mic and confirm its meter moves |
| App cannot capture on Mac | Screen and audio permission was denied | Review Screen & System Audio Recording in Privacy & Security |
| Activation fails | Email, code, connection, or license-scope mismatch | Re-enter the purchase email, protect the code, and contact official support |
| Large or laggy output | Region, frame, quality, or storage pressure is too high | Test a smaller region and shorter clip before changing several settings |
Avoid changing every setting at once. A controlled 20-second test makes it easier to isolate whether the problem is the capture region, audio source, permission, or export path.
If your goal is choosing the product rather than operating it, read the FonePaw Screen Recorder review. If you are still comparing categories, the desktop screen recorder roundup separates built-in tools, conventional recorders, and creator-focused workflows.
Uninstall FonePaw Cleanly
Save any recordings and project files you want to keep before removing the app. Uninstalling software does not automatically cancel a paid plan or guarantee that user-created files are deleted.
Remove it from Windows
FonePaw's public guide describes the classic Control Panel > Uninstall a program route. On current Windows 10 and 11 systems, Microsoft also documents Start > Settings > Apps > Installed apps, where you can find the program and choose Uninstall. Microsoft lists the current options in its Windows uninstall guide.
Remove it from Mac
Quit the app, open Finder > Applications, locate FonePaw Screen Recorder, and move it to the Trash. Apple notes that some apps provide a dedicated uninstaller; use it when the app ships one. Apple's current Mac uninstall guide also warns that deleting an app does not cancel a subscription or remove documents created with it.
After removal, review screen-recording permissions and delete leftover installers you no longer need. Keep exported videos only where your privacy and retention rules allow them.
When Redol Is the Better Mac Workflow
FonePaw remains the product to use when you specifically need its Windows or Mac workflow and its current license fits. Redol is a separate option for Apple Silicon Mac users who want a local recording-to-MP4 path.
Redol's current product route describes screen, system audio, microphone, and webcam capture, plus zoom, crop, cursor emphasis, and local MP4 export. It also states that the live client is focused on Apple Silicon Macs; Windows and Intel Mac builds are not presented as current downloads.
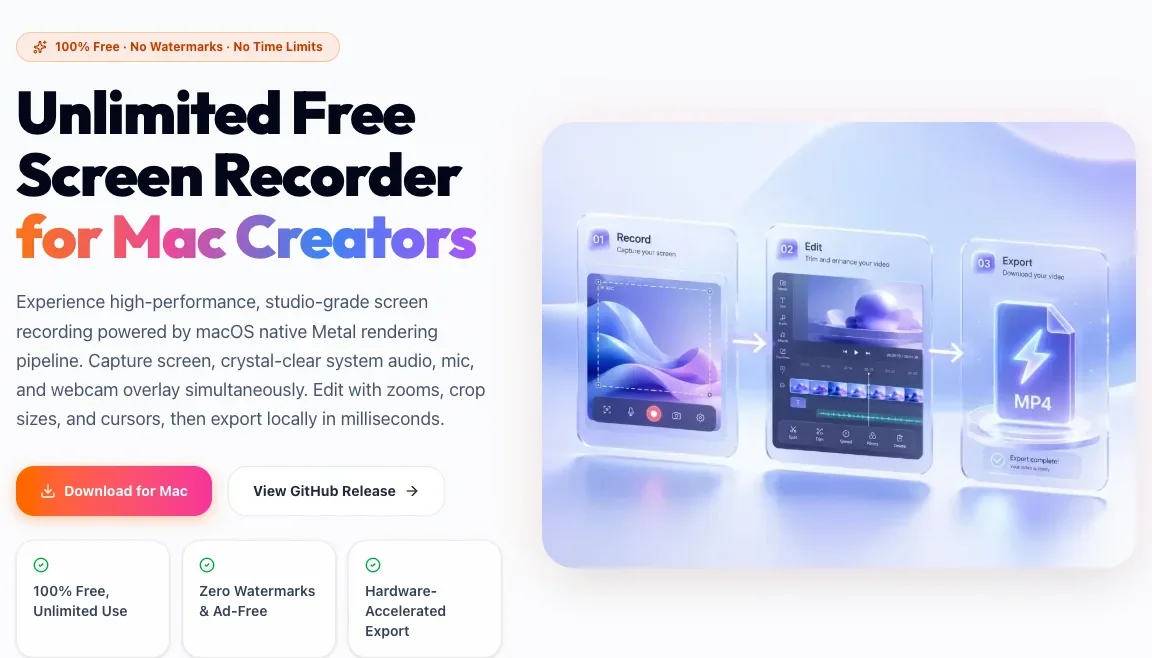
Choose Redol when local Mac capture, no-watermark export, and a focused creator workflow match the job. Choose another current Windows recorder when Windows support is mandatory.
Record and export locally on Apple Silicon
Use Redol Screen Recorder for a Mac-focused workflow with screen, audio, webcam, editing, and local MP4 export.
Final Preflight Before a Real Recording
- Confirm the installer and support links are official.
- Select the exact window or capture area.
- Check system audio and microphone independently.
- Hide notifications and private data.
- Record and review a short test file.
- Confirm the save location and available storage.
- Keep registration details outside the recording.
- Use official support for activation or billing problems.
That short preflight is more valuable than any feature checklist. It proves the actual installer, permissions, inputs, and export path on the computer you will use.
Related posts
About the Author

Zhang Guo
AI Product Manager · Digital Marketing Consultant
AI product manager and digital marketing consultant with a background in music. I see creativity as the bridge between rhythm and logic, where musical intuition and mathematical precision can coexist in every meaningful product decision.
Follow on X